hello大家好啊,这里是鸿蒙开天组,今天我们来学习鸿蒙中的动画属性。
先来说说动画~
属性值的变化,通常会引发 UI 的变化,结合动画可以让这个变化过程【更为流畅】,反之这个过程将在一瞬间完成,用户体验不好,观感突兀。这就是动画的作用:链接
HarmonyOS 中的动画主要分为:
- 属性动画
- 转场动画
- 组件动画
这么三类,一些和动画相关的其他细节咱们接着往下学。
今天咱们主要来学习属性动画。
属性动画-animation
接下来看看如何让咱们的应用动起来
组件的某些通用属性变化时,可以通过属性动画实现渐变过渡效果,提升用户体验。支持的属性包括width、height、backgroundColor、opacity、scale、rotate、translate等。
基本使用
使用动画的核心步骤如下:
- 声明相关状态变量
- 将状态变量设置到相关可动画属性方法上
- 通过属性动画接口开启属性动画(在属性动画上面的属性会应用动画)
- 通过状态变量改变UI界面
// 最核心写法,相关动画属性后续展开
组件.属性1().属性2()// .... animation 必须在需要动画的属性的后面 .animation({})
看完了概念,让我们来试一下~
基础模板
@Entry
@Component
struct Page01_animation {// 1. 声明相关状态变量@State translateY: number = 1@State bgColor: ResourceColor = Color.Pink@State fontColor: ResourceColor = '#0094ff'@State fontWeight: number = 100build() {Column() {Text('C').width(100).height(100).opacity(1).textAlign(TextAlign.Center)// 2.将状态变量设置到相关可动画属性接口.fontWeight(this.fontWeight).backgroundColor(this.bgColor).translate({ y: this.translateY })Button('修改状态变量').onClick(() => {// 4. 通过状态变量改变UI界面this.bgColor = '#0094ff'this.translateY = 100this.fontColor = Color.Pinkthis.fontWeight = 900})}.width('100%').height('100%').justifyContent(FlexAlign.SpaceAround)}
}
在上面的模板代码中,我们需要为容器添加动画,也就是给text的变量改变添加一个过渡。
为了方便理解,接下来的参考代码将变量改变的部分进行了函数封装,这样我们就可以得到这样一个结果 :
@Entry
@Component
struct Page01_animation {// 1. 声明相关状态变量@State translateY: number = 1@State bgColor: ResourceColor = Color.Pink@State fontColor: ResourceColor = '#0094ff'@State fontWeight: number = 100@State isOrNot: boolean = falseonclickEventEnd() {// 4. 通过状态变量改变UI界面this.bgColor = '#0094ff'this.translateY = 100this.fontColor = Color.Pinkthis.fontWeight = 900}onclickEventStart() {// 4. 通过状态变量改变UI界面this.bgColor = Color.Pinkthis.translateY = 1this.fontColor = Color.Pinkthis.fontWeight = 100}build() {Column() {Text('C').width(100).height(100).opacity(1)// 2.将状态变量设置到相关可动画属性接口.fontWeight(this.fontWeight).backgroundColor(this.bgColor).textAlign(TextAlign.Center).translate({ y: this.translateY })// 3.通过属性动画接口开启属性动画.animation({})Button('修改状态变量').onClick(() => {if (this.isOrNot) {this.onclickEventStart()this.isOrNot = !this.isOrNot} else {this.onclickEventEnd()this.isOrNot = !this.isOrNot}})}.width('100%').height('100%').justifyContent(FlexAlign.SpaceAround)}
}
常用属性
可以通过动画参数(以对象的形式传递)来定制动画效果
组件.animation({ 动画参数 })| 名称 | 参数类型 | 必填 | 描述 |
| duration | number | 否 | 动画时长,单位为毫秒。 默认值:1000 |
| curve | string | Curve | ICurve | 否 | 设置动画曲线。 默认值:Curve.EaseInOut |
| delay | number | 否 | 动画延迟播放时间。单位为毫秒,默认不延时播放。 默认值:0 取值范围:(-∞, +∞) |
| iterations | number | 否 | 动画播放次数。 默认值:1 取值范围:[-1, +∞) 说明: 设置为-1时表示无限次播放。设置为0时表示无动画效果。 |
| playMode | PlayMode | 否 | 动画播放模式,默认播放完成后重头开始播放。 默认值:PlayMode.Normal |
| onFinish | () => void | 否 | 结束回调,动画播放完成时触发。 从API version 9开始,该接口支持在ArkTS卡片中使用。 |
动画曲线枚举值:
| 名称 | 描述 |
| Linear | 表示动画从头到尾的速度都是相同的。 |
| Ease | 表示动画以低速开始,然后加快,在结束前变慢,CubicBezier(0.25, 0.1, 0.25, 1.0)。 |
| EaseIn | 表示动画以低速开始,CubicBezier(0.42, 0.0, 1.0, 1.0)。 |
| EaseOut | 表示动画以低速结束,CubicBezier(0.0, 0.0, 0.58, 1.0)。 |
| EaseInOut | 表示动画以低速开始和结束,CubicBezier(0.42, 0.0, 0.58, 1.0)。 |
| FastOutSlowIn | 标准曲线,CubicBezier(0.4, 0.0, 0.2, 1.0)。 |
| LinearOutSlowIn | 减速曲线,CubicBezier(0.0, 0.0, 0.2, 1.0)。 |
| FastOutLinearIn | 加速曲线,CubicBezier(0.4, 0.0, 1.0, 1.0)。 |
| ExtremeDeceleration | 急缓曲线,CubicBezier(0.0, 0.0, 0.0, 1.0)。 |
| Sharp | 锐利曲线,CubicBezier(0.33, 0.0, 0.67, 1.0)。 |
| Rhythm | 节奏曲线,CubicBezier(0.7, 0.0, 0.2, 1.0)。 |
| Smooth | 平滑曲线,CubicBezier(0.4, 0.0, 0.4, 1.0)。 |
| Friction | 阻尼曲线,CubicBezier(0.2, 0.0, 0.2, 1.0)。 |
playMode 播放模式枚举值
| 名称 | 描述 |
| Normal | 动画正向播放。 |
| Reverse | 动画反向播放。 |
| Alternate | 先正向播放,再反向播放。 |
| AlternateReverse | 先反向播放,后正向播放。 |
非常多的属性值,这里就不逐个尝试啦~有兴趣的可以自己尝试一下。
案例-折扣信息
接下来咱们来写一个小小的案例

需求:
动画效果:
- 元素大小切换
- 动画次数无限,元素【加载之后】开启动画
点击按钮触发
咱们先考虑如何实现点击开启动画,元素加载之后涉及到一个还未学习的知识点
核心步骤:有布局,有逻辑
1.布局:用 Text 方便调整实现布局
2.动画:animation
a.次数无限次
b.动画线性:匀速
c.改变的是缩放
i.宽高,定义在@State
3.如何触发:
a.点击触发
模板代码
@Entry
@Component
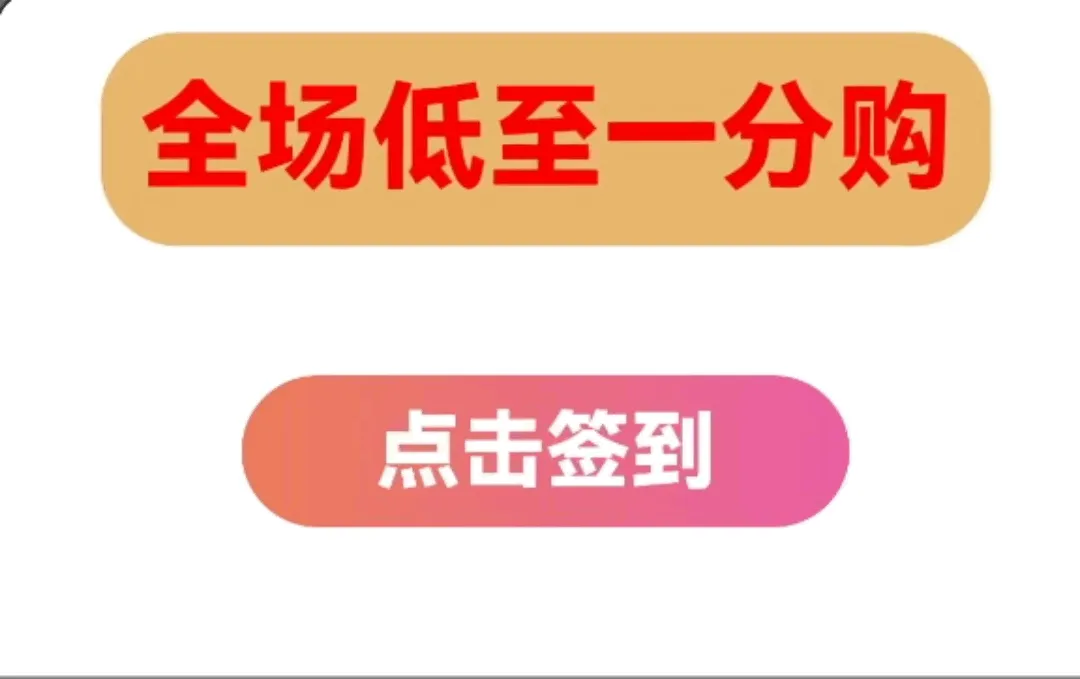
struct Page02_animationDemo1 {build() {Column({ space: 50 }) {Text('全场低至一分购').fontSize(30).fontWeight(900).fontColor(Color.Red).backgroundColor('#e8b66d').padding(10).borderRadius(20)}.width('100%').height('100%').padding(20)}@StylesfullSize() {.width('100%').height('100%')}
}
参考代码
@Entry
@Component
struct Page02_animationDemo1 {// 1. 声明相关状态变量@State scaleX: number = 1@State scaleY: number = 1build() {Column({ space: 50 }) {Text('全场低至一分购').fontSize(30).fontWeight(900).fontColor(Color.Red).backgroundColor('#e8b66d').padding(10).borderRadius(20)// 2.将状态变量设置到相关可动画属性接口.scale({x: this.scaleX,y: this.scaleY})// 3. 通过属性动画接口开启属性动画.animation({duration: 1000,curve: Curve.Ease,playMode: PlayMode.Alternate,iterations: -1}).onClick(() => {// 4.通过状态变量改变UI界面this.scaleX = 1.3this.scaleY = 1.3})}.width('100%').height('100%').padding(20)}@StylesfullSize() {.width('100%').height('100%')}
}
组件加载自动触发事件
如果要实现元素加载的时候就开始动画,可以使用挂载事件来实现,这是一个通用事件
链接
| 名称 | 功能描述 |
| onAppear(event: () => void) | 组件挂载显示时触发此回调。 从API version 9开始,该接口支持在ArkTS卡片中使用。 |
| onDisAppear(event: () => void) | 组件卸载消失时触发此回调。 从API version 9开始,该接口支持在ArkTS卡片中使用。 |
如何理解软件开发中的事件: 框架提供给开发者,在特定时机注册自定义逻辑的一种机制
接下来进行一个测试~
@Entry
@Component
struct Page03_appearAnddisAppear {@State isShow: boolean = falsebuild() {Column({ space: 50 }) {Button('切换显示').onClick(() => {this.isShow = !this.isShow})if (this.isShow) {Text('我是文本').width('100%').onAppear(() => {console.log('加载了')}).onDisAppear(() => {console.log('卸载了')})}}.width('100%').height('100%').padding(20)}
}
案例调整后的效果
@Entry
@Component
struct Page04_animationDemo1_event {// 1. 声明相关状态变量@State scaleX: number = 1@State scaleY: number = 1build() {Column({ space: 50 }) {Text('全场低至一分购').fontSize(30).fontWeight(900).fontColor(Color.Red).backgroundColor('#e8b66d').padding(10).borderRadius(20)// 2.将状态变量设置到相关可动画属性接口.scale({x: this.scaleX,y: this.scaleY})// 3. 通过属性动画接口开启属性动画.animation({duration: 1000,curve: Curve.EaseInOut,playMode: PlayMode.Alternate,iterations: -1}).onAppear(() => {// 4.通过状态变量改变UI界面this.scaleX = 1.3this.scaleY = 1.3})}.width('100%').height('100%').padding(20)}@StylesfullSize() {.width('100%').height('100%')}
}
今天的文章就到这里啦!这里是鸿蒙开天组,感谢大家的关注,咱们下篇文章再见!
