配置电子邮件服务
一.基于Postfix的邮件发送
1. 安装Postfix
yum install postfix -y再下载一个telnet工具
yum -y install telnet
启动Postfix
systemctl start postfix
systemctl enable postfix
查看系统中端口是否被Postfix使用
netstat -tnlp | grep :25
2. 更改主机名
有些教程会打开/etc/sysconfig/network去修改主机名,但是由于以下原因,所以使用命令来改了
在 CentOS 6 中,主机名是配置在 /etc/sysconfig/network 这个文件里的,你要改 HOSTNAME=test.com。
但是在 CentOS 7 和更新的系统(比如 CentOS 8、CentOS Stream),/etc/sysconfig/network 这个文件已经废弃了,主机名的管理方式也变了,改成用 hostnamectl 和 /etc/hostname 管理了。
所以你在 CentOS 7/8 上找 /etc/sysconfig/network 找不到,很正常。就算你手动建了 /etc/sysconfig/network,系统也不会去读取它了。
hostnamectl set-hostname test.com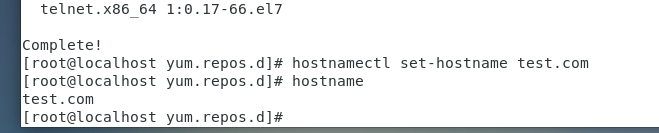
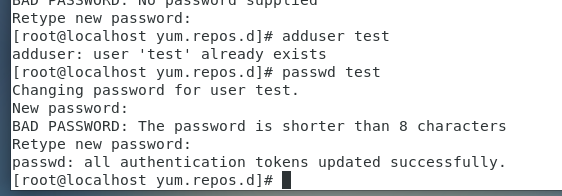
3. 创建一个测试用户
sudo adduser test
sudo passwd test   # 给test用户设置密码
密码也设置test,(但是打上去命令行不会显示出来,这是正常现象)
这里可能会提示什么要设置8位密码,不必理会,直接再重新输入test就行了
4. 配置Postfix
gedit /etc/postfix/main.cf把相对应的注释前面的#给去掉即可,如果发现已经开启不同的就把它注释掉
myhostname = mail.test.commydomain = test.commyorigin = $mydomainmydestination = $myhostname, localhost.$mydomain, localhost, $mydomaininet_interfaces = allhome_mailbox = Maildir/或者mail_spool_directory = /var/mail上面分别是设置
主机名 mail.test.com
服务器域名 test.com
发件人域名 $mydomain
收件人域名 $myhostname, localhost.$mydomain, localhost, $mydomain
Postfix监听的网络接口 all
邮箱存储位置 Maildir/
/var/mail
这个存储位置分别分别代表不同的存储邮件格式的默认位置
Maildir : 一个文件包含一条邮件信息的格式, 对应的默认存储地址为 Maildir /
mbox : 传统的UNIX邮件信息的格式, 对应的存储位置为/var/mail
我这里就先选择home_mailbox = Maildir/了
重启Postfix
systemctl restart postfix5. 使用Postfix发送信件
使用telnet命令项SMTP服务器发起连接请求
telnet 0 25
输入下面的命令,后写自己生成的
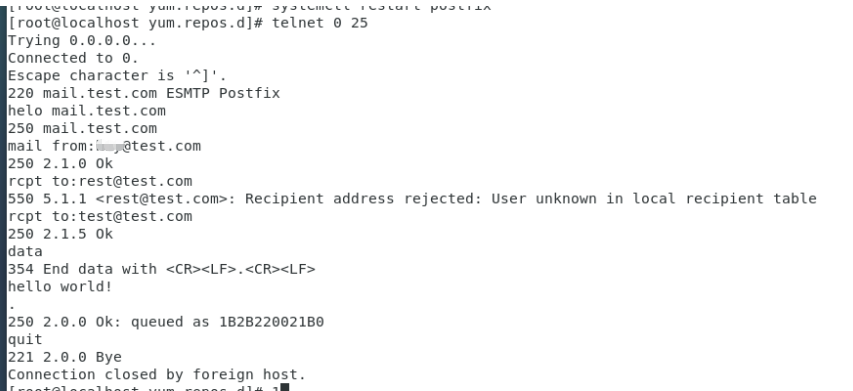
[root@localhost yum.repos.d]# telnet 0 25Trying 0.0.0.0...Connected to 0.Escape character is '^]'.220 mail.test.com ESMTP Postfixhelo mail.test.com250 mail.test.commail from:xxx@test.com250 2.1.0 Okrcpt to:test@test.com250 2.1.5 Okrcpt to:xxxxxxxx@qq.com250 2.1.5 Okdata354 End data with <CR><LF>.<CR><LF>hello world!.250 2.0.0 Ok: queued as E23C920021ACquit221 2.0.0 ByeConnection closed by foreign host.helo :向服务器表明身份
mail : 设置寄件人
rcpt to: 设置收件人(可以设置多个)
data: 设置正文
.:结束
quit 退出
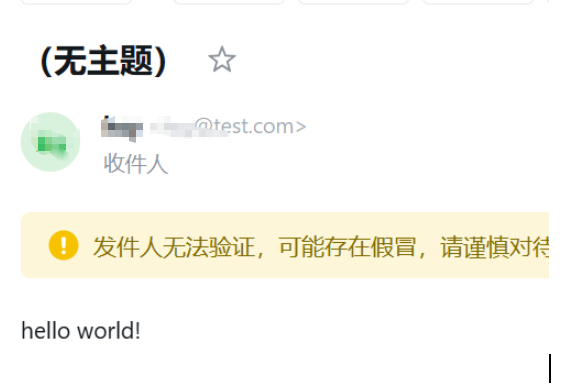
在QQ邮箱中就会有消息
这样就配置完成了
二. 基于Dovecot的邮件收取
1. 安装Dovecot
yum -y install dovecot开启服务
systemctl start dovecotsystemctl enable dovecot
telnet 测试
telnet 0 110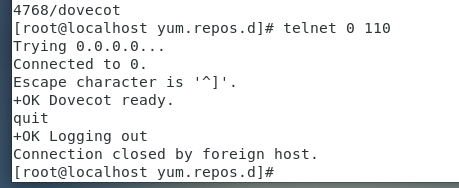
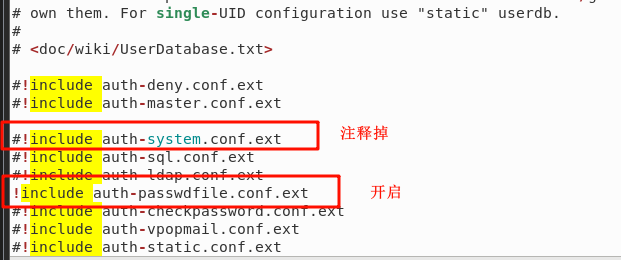
2. 配置用户认证方式
注释系统认证,启用文件认证
使用文件方式认证时,需要先为用户配置认证文件,这个认证文件的路径在/etc/dovecot/conf.d/auth-passwdfile.conf.ext 这个文件中有声明,进入查看
gedit /etc/dovecot/conf.d/auth-passwdfile.conf.ext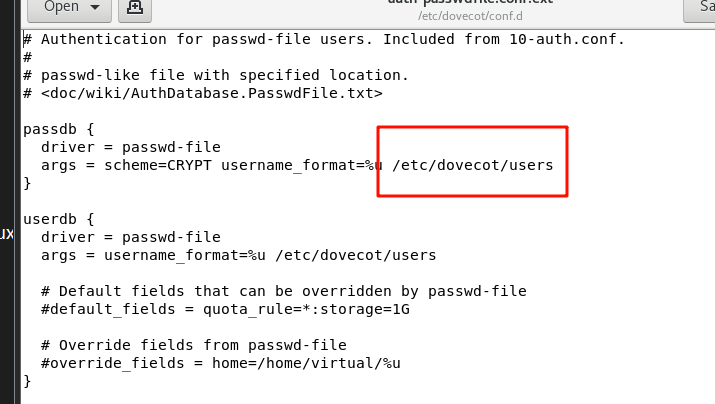
发现是/etc/dovecot/users, 我们的用户配置认证文件,就在这里配置
gedit /etc/dovecot/users在配置之前,先查看一下用户ID是什么, 这里的test是之前创建的用户名
id test
是1001,所以在下面配置时设置的数据为
test:{plain}test:1001:1001::/home/test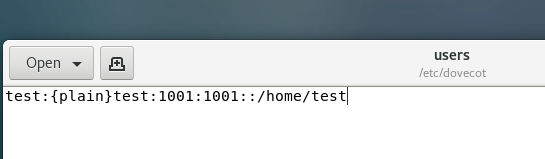
3. 配置mail_location
进入文件位置
gedit /etc/dovecot/conf.d/10-mail.conf进行配置
我们可以看到,下面有三个默认值
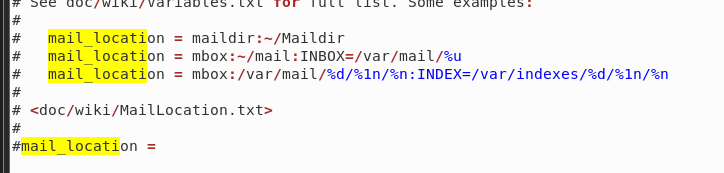
如果在上面的配置Postfix时home_mailbox = Maildir/,就选择第一个
如果使用的是mail_spool_directory = /var/mail, 就选择第二个
当然,书上选择第二个,所以在gedit /etc/postfix/main.cf,注释掉home_mailbox = Maildir/,
使用mail_spool_directory = /var/mail
修改(main.cf)
gedit /etc/postfix/main.cf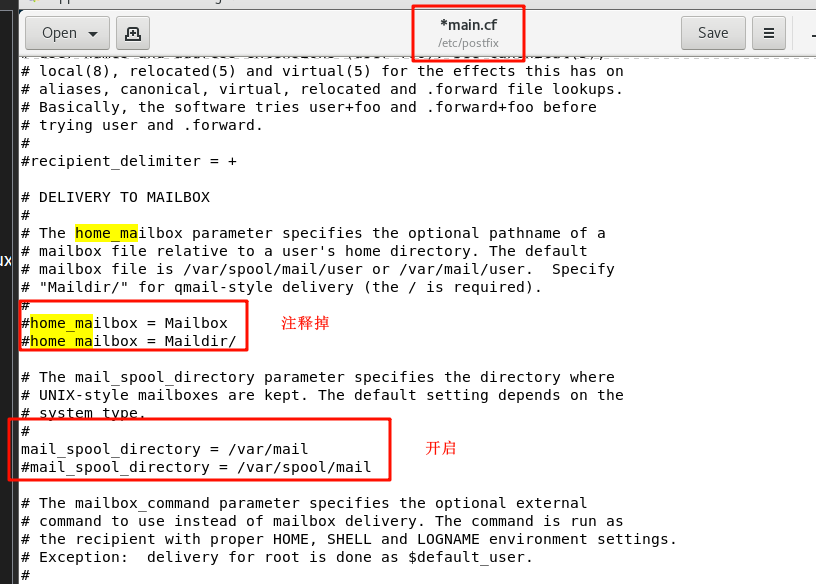
修改(10-mail.conf)
gedit /etc/dovecot/conf.d/10-mail.conf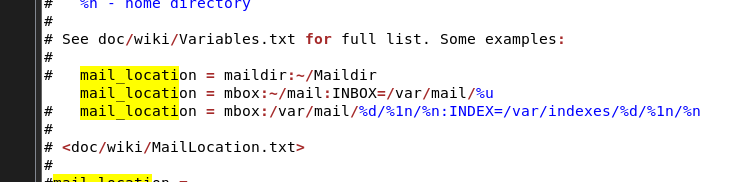
接下来创建以上配置文件指定的用于存放邮件的目录,并且将所有者和所属组都改为test
mkdir -p /home/test/mail/.imap/INBOXchown -R test:test /home/test/mail
重启服务
systemctl restart dovecotsystemctl restart postfix4. 使用Dovecot管理邮箱
先再发一下Postfix给test@test.com
参考使用Postfix发送信件
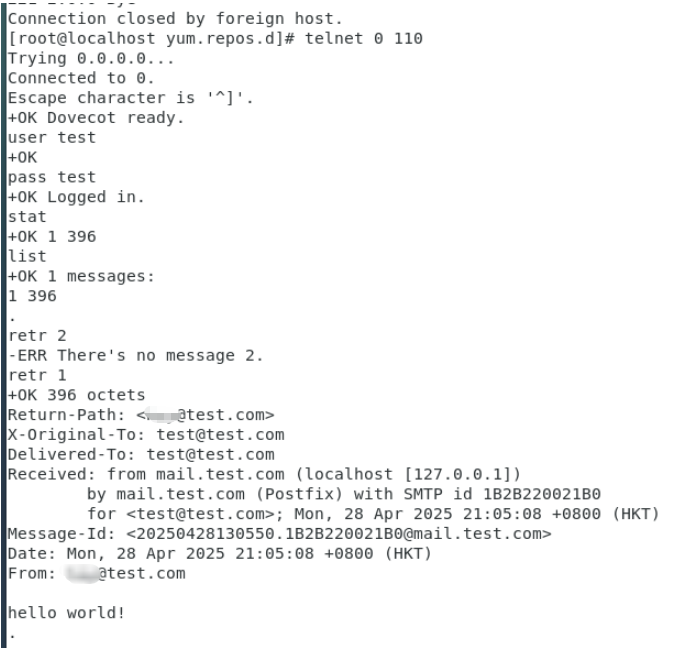
现在再使用telnet 来登录 test
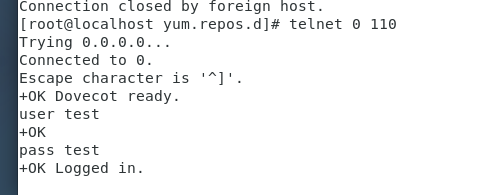
[root@localhost yum.repos.d]# telnet 0 110
Trying 0.0.0.0...
Connected to 0.
Escape character is '^]'.
+OK Dovecot ready.
user test
+OK
pass test
+OK Logged in.
stat
+OK 1 396
list
+OK 1 messages:
1 396
.
retr 1
+OK 396 octets
Return-Path: <xxx@test.com>
X-Original-To: test@test.com
Delivered-To: test@test.com
Received: from mail.test.com (localhost [127.0.0.1])by mail.test.com (Postfix) with SMTP id 1B2B220021B0for <test@test.com>; Mon, 28 Apr 2025 21:05:08 +0800 (HKT)
Message-Id: <20250428130550.1B2B220021B0@mail.test.com>
Date: Mon, 28 Apr 2025 21:05:08 +0800 (HKT)
From: xxx@test.comhello world!
.
user: 用户名
pass: 密码
stat : 查看邮件状态
list: 查看邮件列表
retr id 根据list上面的id 查看邮件内容
都显示出来了就算配置成功了,其他的功能就不一一演示了。
成功效果: