一 ,创建一个 PyQt 应用程序,该应用程序能够:
使用 OpenCV 加载一张图像。
在 PyQt 的窗口中显示这张图像。
提供四个按钮(QPushButton):
- 一个用于将图像转换为灰度图
- 一个用于将图像恢复为原始彩色图
- 一个用于将图像进行翻转
- 一个用于将图像进行旋转
当用户点击按钮时,相应地更新窗口中显示的图像
1.思路分析
读取图片
添加按钮
将功能函数与按钮使用信号与槽连接
2.设计到的函数方法
cv2.cvtColor(转换为灰度图)
cv2.flip(翻转)
cv2.getRotationMatrix2D(用于计算二维旋转矩阵的函数)
cv2.warpAffine(对图像进行放射变换)
3.代码
import cv2
import sys
from PyQt6.QtGui import QPixmap, QImage
from PyQt6.QtWidgets import QApplication, QWidget, QLabel, QPushButtonclass MyWidget(QWidget):def __init__(self):super().__init__()self.resize(600, 400)self.lab3 = QLabel(self)self.lab3.resize(600, 400)self.lab3.setScaledContents(True)self.img = cv2.imread("./car5.png")self.update_image(self.img)btn1 = QPushButton("灰度", self)btn1.setStyleSheet("background-color:green")btn1.clicked.connect(self.change_image)  btn1.move(10, 10)  btn2 = QPushButton("彩色", self)btn2.setStyleSheet("background-color:green")btn2.clicked.connect(self.change_colours)  btn2.move(90, 10)btn3 = QPushButton("翻转", self)btn3.setStyleSheet("background-color:green")btn3.clicked.connect(self.change_transform)  btn3.move(170, 10)btn4 = QPushButton("旋转", self)btn4.setStyleSheet("background-color:green")btn4.clicked.connect(self.spin)  btn4.move(260, 10)def update_image(self, img):img_rgb = cv2.cvtColor(img, cv2.COLOR_BGR2RGB) h, w, ch = img_rgb.shapebytes_per_line = ch * wqimage = QImage(img_rgb.data, w, h, bytes_per_line, QImage.Format.Format_RGB888)pixmap = QPixmap.fromImage(qimage)self.lab3.setPixmap(pixmap)def change_colours(self):self.update_image(self.img)def change_transform(self):img_filp = cv2.flip(self.img,0)self.update_image(img_filp)def spin(self):M = cv2.getRotationMatrix2D((self.img.shape[1]/2, self.img.shape[0]/2), 45, 0.5)img_warp = cv2.warpAffine(self.img,  M,  (700, 700),  大小flags=cv2.INTER_LINEAR,  )self.update_image(img_warp)def change_image(self):img_gray = cv2.cvtColor(self.img, cv2.COLOR_BGR2GRAY)self.update_image(img_gray)if __name__ == "__main__":app = QApplication(sys.argv)myWidget = MyWidget()myWidget.show()sys.exit(app.exec())
4.效果展示
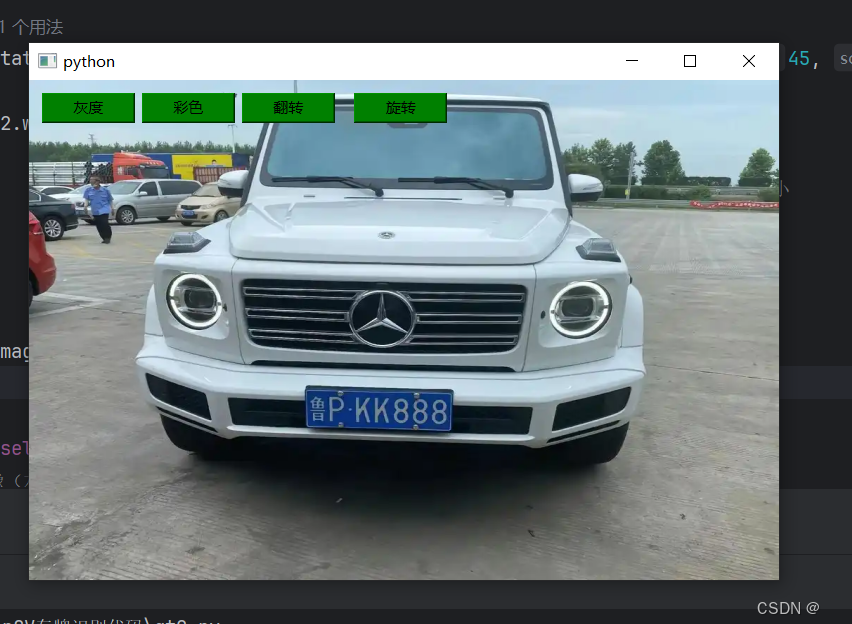
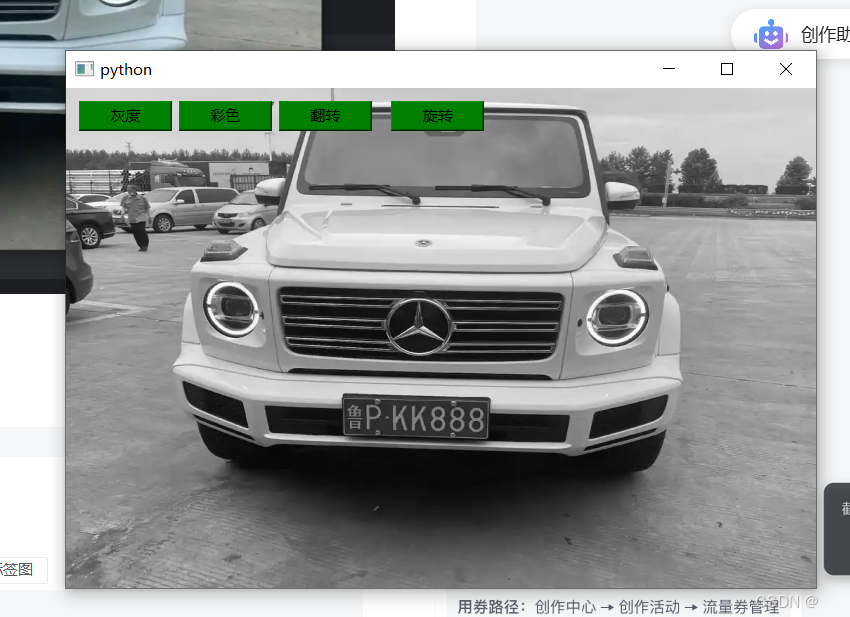
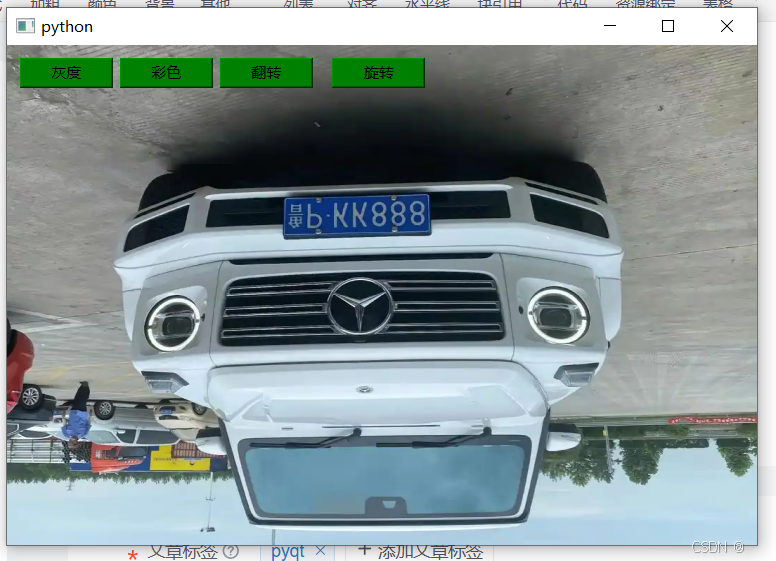

使用 OpenCV 加载一张图像。
在 PyQt 的窗口中显示这张图像。
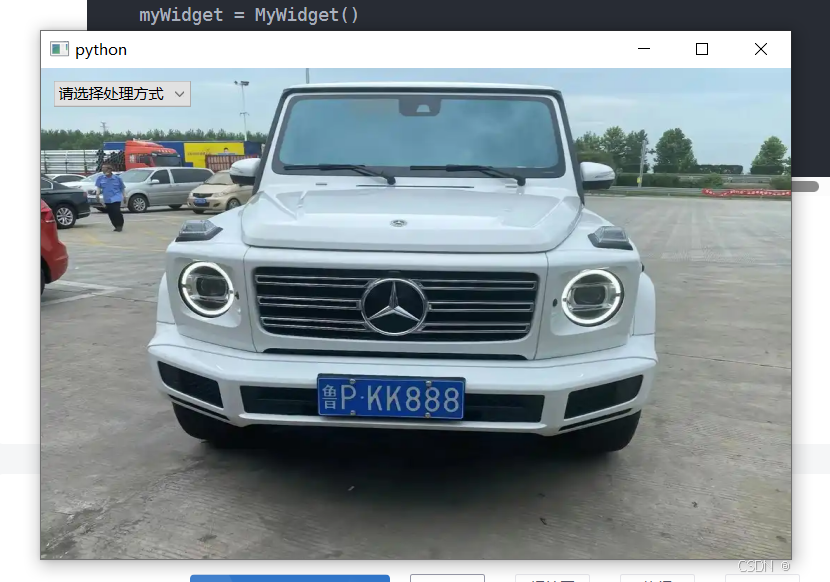
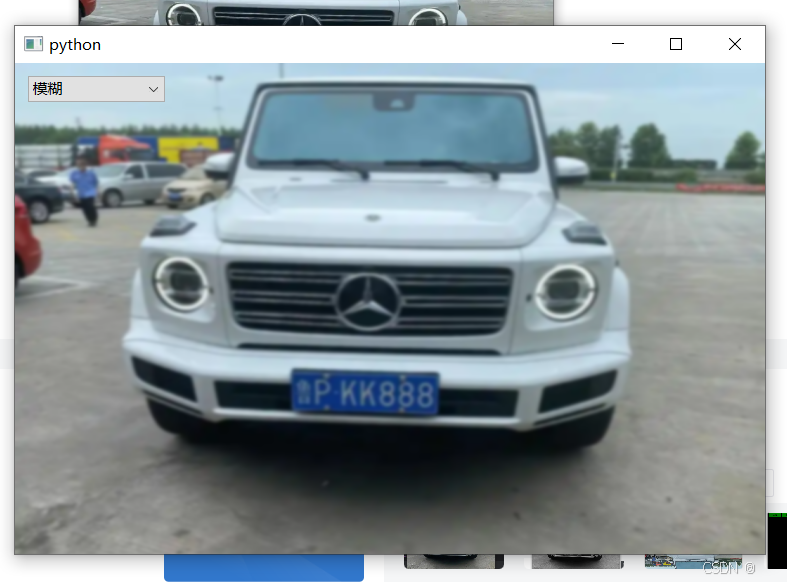
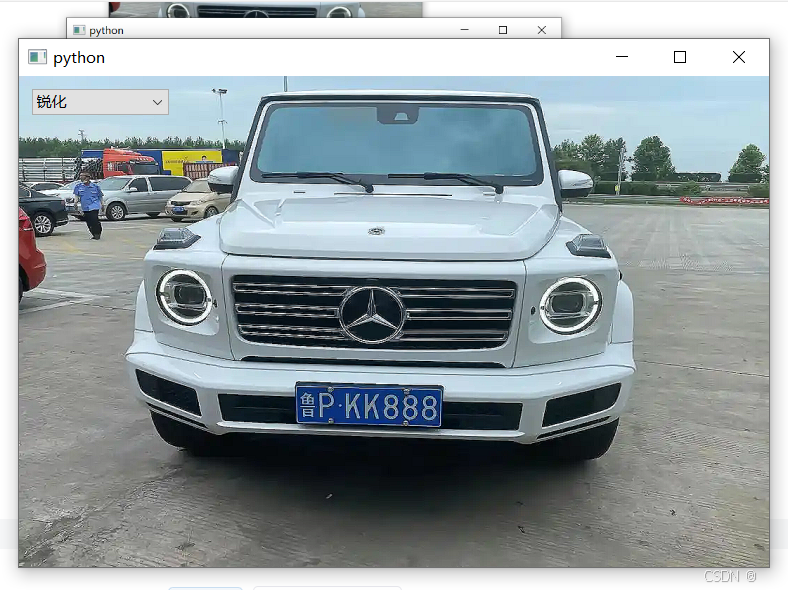
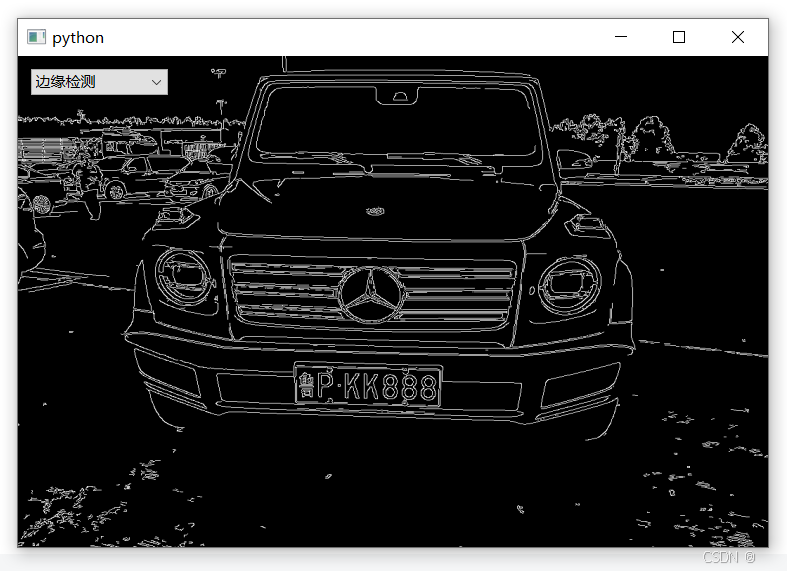
提供一个下拉列表(QComboBox),对图像做(模糊、锐化、边缘检测)处理:
当用户点击下拉列表选项时,相应地更新窗口中显示的图像。
提供一个按钮,当用户点击按钮时,能保存调整后的图像。
思路分析
使用下拉列表将功能函数写入进去
设计到的函数方法
提供一个下拉列表(QComboBox)
模糊——使用cv2.GaussianBlur()实现
锐化——使用cv2.Laplacian()、cv2.Sobel()实现
边缘检测——使用cv2.Canny()实现
代码
import cv2
import sys
import numpy as np
from PyQt6.QtGui import QPixmap, QImage
from PyQt6.QtWidgets import QApplication, QWidget, QLabel, QComboBox, QVBoxLayoutclass MyWidget(QWidget):def __init__(self):super().__init__()self.resize(600, 400)self.lab3 = QLabel(self)self.lab3.resize(600, 400)self.lab3.setScaledContents(True)self.img = cv2.imread("./car5.png")self.update_image(self.img)self.combo_box = QComboBox(self)self.combo_box.addItem("请选择处理方式")self.combo_box.addItem("模糊")self.combo_box.addItem("锐化")self.combo_box.addItem("边缘检测")self.combo_box.currentIndexChanged.connect(self.process_image)  self.combo_box.move(10, 10)def update_image(self, img):img_rgb = cv2.cvtColor(img, cv2.COLOR_BGR2RGB) h, w, ch = img_rgb.shapebytes_per_line = ch * wqimage = QImage(img_rgb.data, w, h, bytes_per_line, QImage.Format.Format_RGB888)pixmap = QPixmap.fromImage(qimage)self.lab3.setPixmap(pixmap)def process_image(self):selected_option = self.combo_box.currentText()if selected_option == "模糊":img_blurred = cv2.GaussianBlur(self.img, (15, 15), 0)self.update_image(img_blurred)elif selected_option == "锐化":kernel = np.array([[0, -1, 0], [-1, 5,-1], [0, -1, 0]])  img_sharpened = cv2.filter2D(self.img, -1, kernel)self.update_image(img_sharpened)elif selected_option == "边缘检测":img_gray = cv2.cvtColor(self.img, cv2.COLOR_BGR2GRAY)img_edges = cv2.Canny(img_gray, 100, 200)img_edges_colored = cv2.cvtColor(img_edges, cv2.COLOR_GRAY2BGR)  self.update_image(img_edges_colored)else:self.update_image(self.img)if __name__ == "__main__":app = QApplication(sys.argv)myWidget = MyWidget()myWidget.show()sys.exit(app.exec())
效果展示
