1. 引入daisyUi
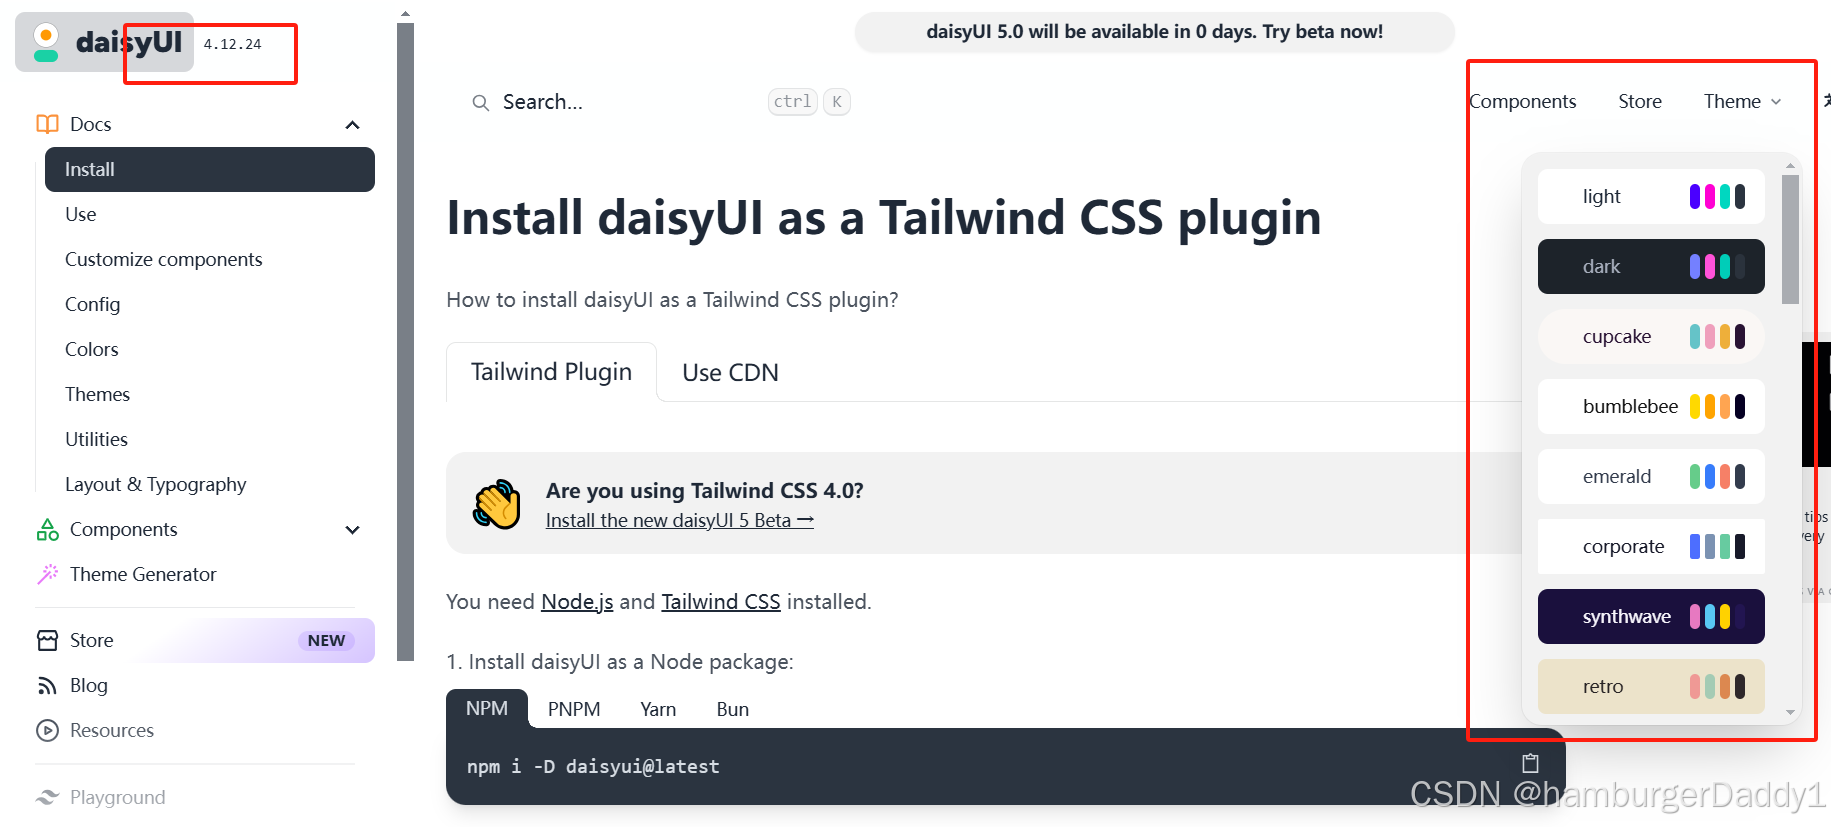
我们用的是^4.12.23版本
daisyUI介绍 Install daisyUI as a Tailwind CSS plugin — Tailwind CSS Components ( version 4 update is here )
切换主题功能我们仿照daisyUI themes — Tailwind CSS Components ( version 5 update is here )
1.在tailwind.config.js 中配置daisyUI
/** @type {import('tailwindcss').Config} */
import daisyui from "daisyui"
export default  {content: ["./src/**/*.{html,js,jsx,ts,tsx}"],theme: {extend: {},},plugins: [daisyui],daisyui: {themes:["light","dark","cupcake","bumblebee","emerald","corporate","synthwave","retro","cyberpunk","valentine","halloween","garden","forest","aqua","lofi","pastel","fantasy","wireframe","black","luxury","dracula","cmyk","autumn","business","acid","lemonade","night","coffee","winter","dim","nord","sunset",]},
}
2.新建constant文件夹 创建index.js文件 存储daiyui主题 的code
export const THEMES = [
"light",
"dark",
"cupcake",
"bumblebee",
"emerald",
"corporate",
"synthwave",
"retro",
"cyberpunk",
"valentine",
"halloween",
"garden",
"forest",
"aqua",
"lofi",
"pastel",
"fantasy",
"wireframe",
"black",
"luxury",
"dracula",
"cmyk",
"autumn",
"business",
"acid",
"lemonade",
"night",
"coffee",
"winter",
"dim",
"nord",
"sunset",
];
3.新建userThemeStore.js
import {create} from "zustand"
export const useThemeStore = create((set) => ({
theme: localStorage.getItem("chat-theme") || "cyberpunk",
setTheme: (theme) => {
set({ theme })
localStorage.setItem("chat-theme", theme)
}
}))
4. 在App.jsx使用 theme
引入store
import {useThemeStore} from './store/useThemeStore'
结构出theme的值 const {theme} = useThemeStore()

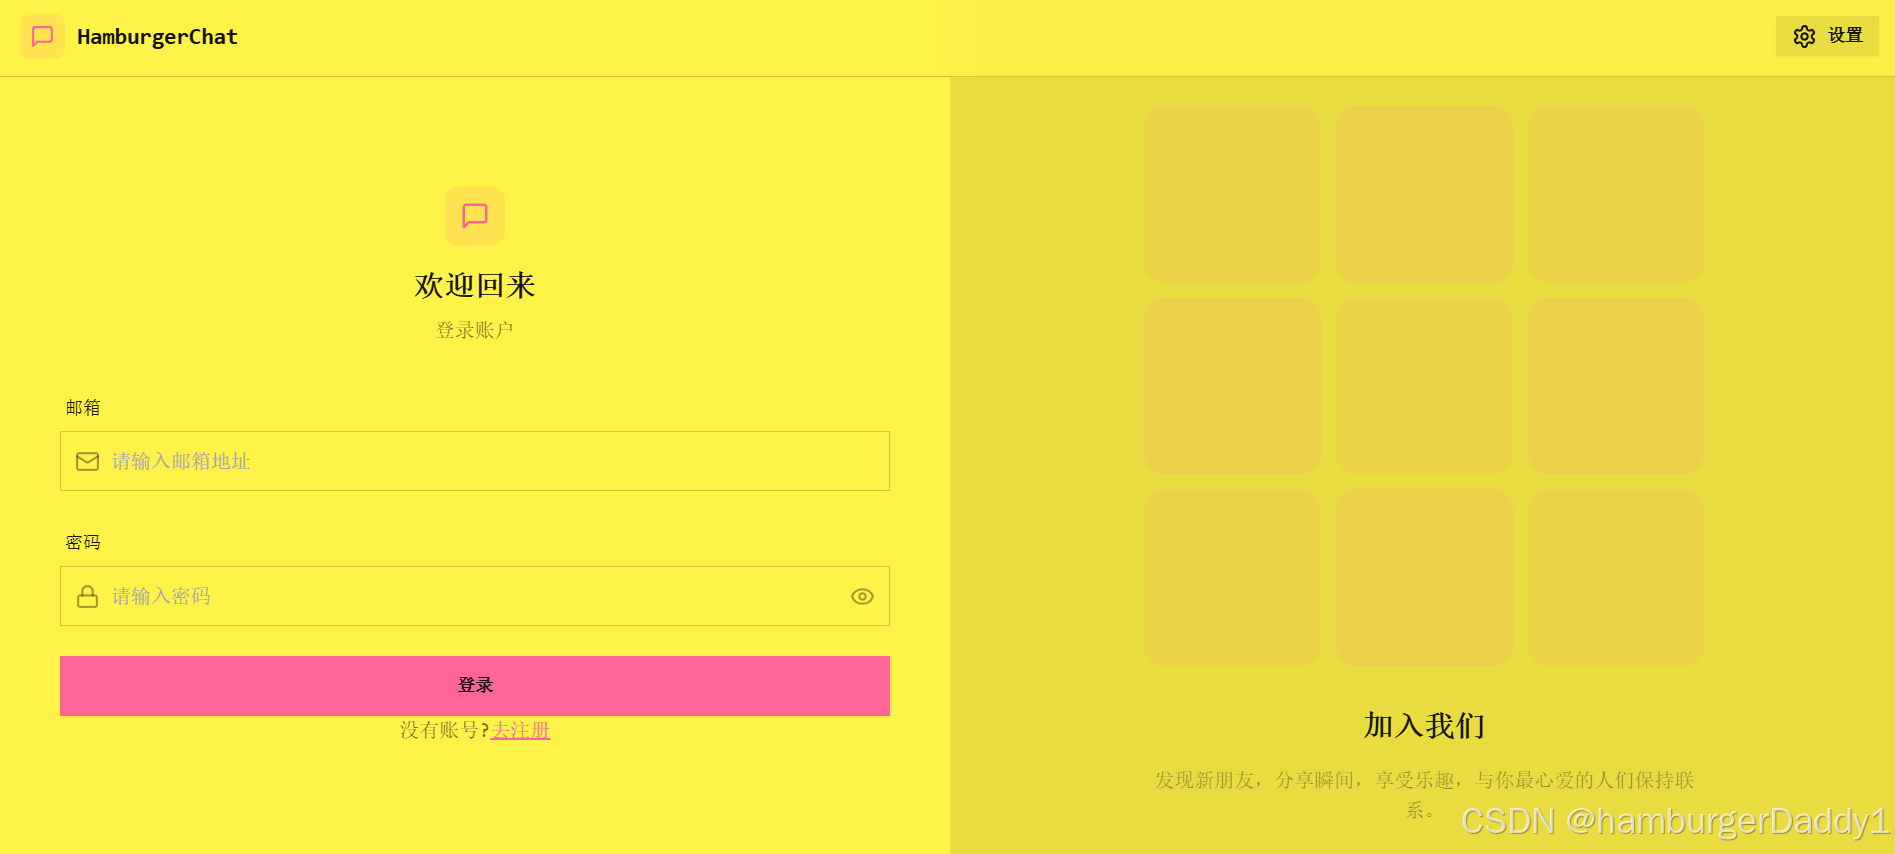
效果如下
2.设置页面 切换主题 主题预览
1.完善SettingPage 页面
import {THEMES} from "../constant/index"
import  {useThemeStore}  from "../store/useThemeStore"
import {Send} from "lucide-react";
const PREVIEW_MESSAGES = [{id:1, content: 'This is a preview message',isSent:false},{id:2, content: 'I am doing great! just working on some projects',isSent:true},
]
const SettingsPage = () => {const{theme, setTheme} = useThemeStore()return (<div className="h-full container mx-auto px-4 pt-20 pb-4 max-w-5xl"><div className="space-y-6"><div className="flex flex-col gap-1"><h2 className="text-lg font-semibold">主题</h2><p className="text-sm text-base-content/70">为聊天界面选择一个主题</p></div><div className="grid grid-cols-4 sm:grid-cols-6 md:grid-cols-8 gap-2">{THEMES.map((t)=>(<button key={t}className={`group flex flex-col items-center gap-1.5 p-2 rounded-lg transition-colors${theme===t?"bg-base-200":"hover:bg-base-200/50"}`}onClick={()=>setTheme(t)}><div className="relative h-8 w-full rounded-md overflow-hidden" data-theme={t}><div className="absolute inset-0 grid grid-cols-4 gap-px p-1"><div className="rounded bg-primary"></div><div className="rounded bg-secondary"></div><div className="rounded bg-accent"></div><div className="rounded bg-neutral"></div></div></div><span className="text-[11px] font-medium truncate w-full text-center">{t.charAt(0).toUpperCase() + t.slice(1)}</span></button>))}</div>{/* 预览模块 */}<h3 className="text-lg font-semibold mb-3">预览</h3><div className="rounded-xl border border-base-300 overflow-hidden bg-base-100 shadow-lg"><div className="p-4 bg-base-200"><div className="max-w-lg mx-auto">{/* Mock Chat UI */}<div className="bg-base-100 rounded-xl shadow-sm overflow-hidden">{/* Chat Header */}<div className="px-4 py-3 border-b border-base-300 bg-base-100"><div className="flex items-center gap-3"><div className="w-8 h-8 rounded-full bg-primary flex items-center justify-center text-primary-content font-medium">J</div><div><h3 className="font-medium text-sm">snow</h3><p className="text-xs text-base-content/70">Online</p></div></div></div>{/* 聊天消息 */}<div className="p-4 space-y-4 min-h-[200px] max-h-[200px] overflow-y-auto bg-base-100">{PREVIEW_MESSAGES.map((message) => (<divkey={message.id}className={`flex ${message.isSent ? "justify-end" : "justify-start"}`}><divclassName={`max-w-[80%] rounded-xl p-3 shadow-sm${message.isSent ? "bg-primary text-primary-content" : "bg-base-200"}`}><p className="text-sm">{message.content}</p><pclassName={`text-[10px] mt-1.5${message.isSent ? "text-primary-content/70" : "text-base-content/70"}`}>12:00 PM</p></div></div>))}</div>{/* 输入框 */}<div className="p-4 border-t border-base-300 bg-base-100"><div className="flex gap-2"><inputtype="text"className="input input-bordered flex-1 text-sm h-10"placeholder="Type a message..."value="This is a preview"readOnly/><button className="btn btn-primary h-10 min-h-0"><Send size={18} /></button></div></div></div></div></div></div></div></div>)
}export default SettingsPage
2.验证效果

这就是今天内容 下篇实现消息后台 欢迎评论区留言 。有真人吗 回复下万分感谢!