wpf 布局控件有很多,常用的有:Grid, UniformGrid, Border, StackPanel, WrapPanel, DockPanel。
1. Grid
Grid 经常作为控件的 Content 使用,常作为 Windows, UserControl 等 UI 元素的根节点。它用来展示一个 n 行 n 列的排版。
因此就有下面几个常用且重要的属性:
RowDefinitions和ColumnDefinitions:行定义、列定义Grid.Row和Grid.Column:子元素位于 Grid 第几行、第几列
1.1 RowDefinitions 和 ColumnDefinitions
RowDefinitions :有个重要属性 Height,它有 3 种值:
- 常规数值,如100,200,单位是像素,表示该行的实际像素高度。
*值, 如1*,2*,1.5*,表示占比,比如 2* 就是 1* 的两倍高。- “
Auto”, 表示高度自动伸缩。
ColumnDefinitions :也有个重要属性 Width,也有类似 3 种值:
- 常规数值,如100,200,单位是像素,表示该列的实际像素宽度。
*值, 如1*,2*,1.5*,表示占比,比如 2* 就是 1* 的两倍宽。- “
Auto”, 表示宽度自动伸缩。
1.2 Grid.Row 和 Grid.Column
这两个属性,实际上是 Row 和 Column 属性,为什么要加上 Grid. ,原因是它们是定义在 Grid 类里的 附加属性。
它俩是用来标识当前控件位于 Grid 哪行哪列,即:
Grid.Row 设置值: 表示该控件处于父类 Grid 的第几行。
Grid.Column 设置值: 表示该控件处于父类 Grid 的第几列。
例子,
 <!-- 创建一个 3 行 3 列 的布局 -->
<Grid><Grid.RowDefinitions><RowDefinition Height="Auto" /><RowDefinition Height="*" /><RowDefinition Height="1.5*" /></Grid.RowDefinitions><Grid.ColumnDefinitions><ColumnDefinition Width="*" /><ColumnDefinition Width="2*" /><ColumnDefinition Width="Auto" /></Grid.ColumnDefinitions><Grid Grid.Row="0" Grid.Column="0" Background="Red" /><Grid Grid.Row="0" Grid.Column="1" Background="IndianRed" /><Grid Grid.Row="0" Grid.Column="2" Background="OrangeRed" /><Grid Grid.Row="1" Grid.Column="0" Background="Green" /><Grid Grid.Row="1" Grid.Column="1" Background="GreenYellow" /><Grid Grid.Row="1" Grid.Column="2" Background="DarkSlateGray" /><Grid Grid.Row="2" Grid.Column="0" Background="Blue" /><Grid Grid.Row="2" Grid.Column="1" Background="DodgerBlue" /><Grid Grid.Row="2" Grid.Column="2" Background="PowderBlue" />
</Grid>
结果:

为什么只剩 2 行 2 列了?第 1 行和第 3 列哪去了?
因为:第 1 行高度和第 3 列宽度都被设置为了 Auto, Auto 会根据相邻或子元素自动排版,没有子元素时,实际宽高就为0。
给第 1 行任意一列填充实际子元素,第 3 列任意一行填充实际子元素,
<Grid Grid.Row="0" Grid.Column="0" Background="Red"><TextBlock Height="80" Text="第 1 行,第 1 列" />
</Grid>
<Grid Grid.Row="0" Grid.Column="1" Background="IndianRed" />
<Grid Grid.Row="0" Grid.Column="2" Background="OrangeRed" /><Grid Grid.Row="1" Grid.Column="0" Background="Green" />
<Grid Grid.Row="1" Grid.Column="1" Background="GreenYellow" />
<Grid Grid.Row="1" Grid.Column="2" Background="DarkSlateGray" /><Grid Grid.Row="2" Grid.Column="0" Background="Blue" />
<Grid Grid.Row="2" Grid.Column="1" Background="DodgerBlue" />
<Grid Grid.Row="2" Grid.Column="2" Background="PowderBlue"><TextBlock Height="80" Text="第 3 行,第 3 列" />
</Grid>
所有行列就都显示了:

2. UniformGrid
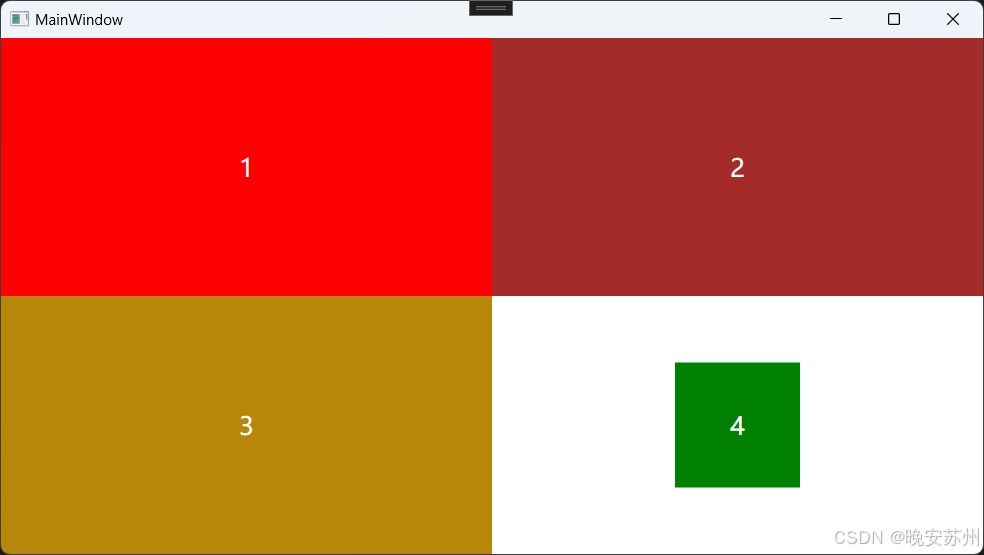
一般称作网格布局,因为它以均匀的网格方式排列容器中的子元素,不用再像 Grid 那样手动指定每个元素的行和列,会自动按顺序(从左到右、从上到下)展示。每个子元素占用相同大小的空间。
<UniformGrid Columns="2" Rows="2"><Grid Background="Red"><TextBlock Text="1" FontSize="20" Foreground="White" HorizontalAlignment="Center" VerticalAlignment="Center" /></Grid><Grid Background="Brown"><TextBlock Text="2" FontSize="20" Foreground="White" HorizontalAlignment="Center" VerticalAlignment="Center" /></Grid><Grid Background="DarkGoldenrod"><TextBlock Text="3" FontSize="20" Foreground="White" HorizontalAlignment="Center" VerticalAlignment="Center" /></Grid><Grid Width="100" Height="100" Background="Green"><TextBlock Text="4" FontSize="20" Foreground="White" HorizontalAlignment="Center" VerticalAlignment="Center" /></Grid>
</UniformGrid>
3. Border
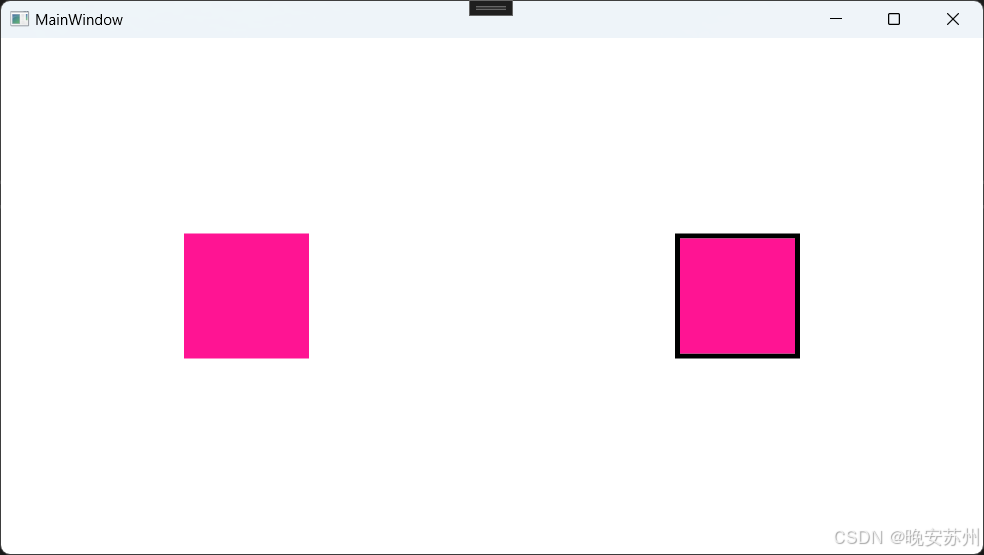
Border 就是带有边框的区域布局,既然是边框就有边框颜色和边框厚度。
BorderBrush: 边框颜色
BorderThickness: 边框厚度(从左右到依次:左、上、 右、 下 厚度)
<Grid><Grid.ColumnDefinitions><ColumnDefinition /><ColumnDefinition /></Grid.ColumnDefinitions><!-- 不带边框 --><BorderWidth="100"Height="100"Background="DeepPink" /><!-- 带边框 --><Border Grid.Column="1"Width="100"Height="100"Background="DeepPink"BorderBrush="Black"BorderThickness="4" />
</Grid>
4. StackPanel 和 WrapPanel
从名字可以看出,StackPanel 即按照栈的方式排版子元素,WrapPanel 在按照栈方式排版基础上,超出显示范围时可以自动换行或换列。
4.1 StackPanel
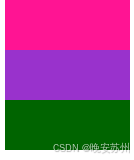
StackPanel 演示
横向排列:
<StackPanel Orientation="Horizontal"><Grid Width="100" Height="40" Background="DeepPink"></Grid><Grid Width="100" Height="40" Background="DarkOrchid"></Grid><Grid Width="100" Height="40" Background="DarkGreen"></Grid>
</StackPanel>

竖向排列:
<StackPanel Orientation="Vertical"><Grid Width="100" Height="40" Background="DeepPink" /><Grid Width="100" Height="40" Background="DarkOrchid" /><Grid Width="100" Height="40" Background="DarkGreen" />
</StackPanel>
4.2 WrapPanel
WrapPanel 演示
横向排列:
<WrapPanel Orientation="Horizontal"><Grid Width="100" Height="40" Background="DeepPink" /><Grid Width="100" Height="40" Background="DarkOrchid"/><Grid Width="100" Height="40" Background="DarkGreen"/>
</WrapPanel>

当宽度显示不下时自动换行:

竖向排列:
<WrapPanel Orientation="Vertical"><Grid Width="100" Height="40" Background="DeepPink"/><Grid Width="100" Height="40" Background="DarkOrchid"/><Grid Width="100" Height="40" Background="DarkGreen"/>
</WrapPanel>
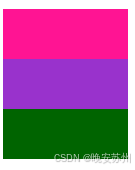
当高度显示不下时,自动换列

5. DockPanel
使用锚点停靠方式在 DockPanel 区域中进行排版。
例如,
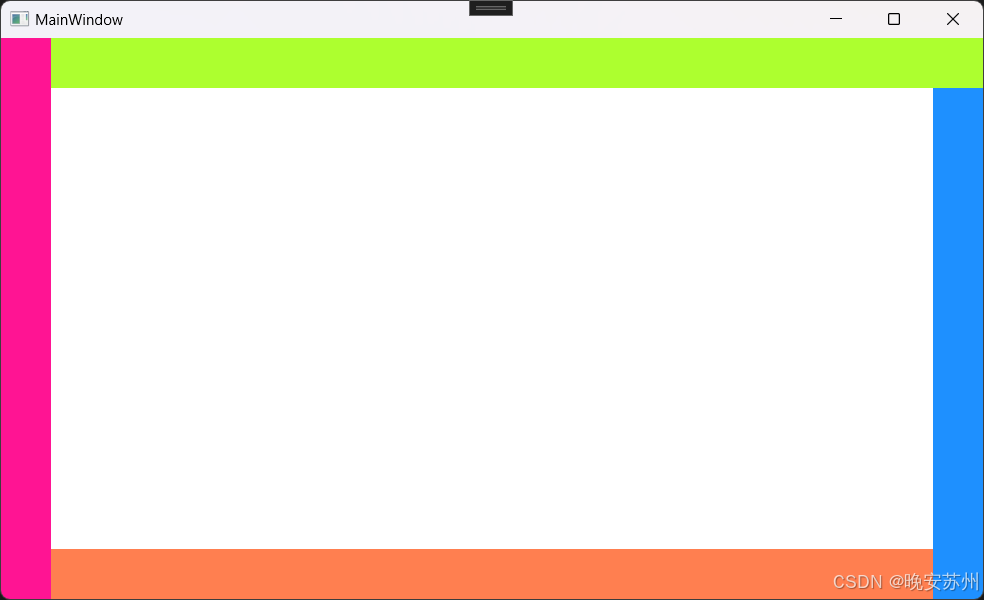
<DockPanel><Grid DockPanel.Dock="Left" Width="40" Background="DeepPink" /><Grid DockPanel.Dock="Top" Height="40" Background="GreenYellow" /><Grid DockPanel.Dock="Right" Width="40" Background="DodgerBlue" /><Grid DockPanel.Dock="Bottom" Height="40" Background="Coral" />
</DockPanel>
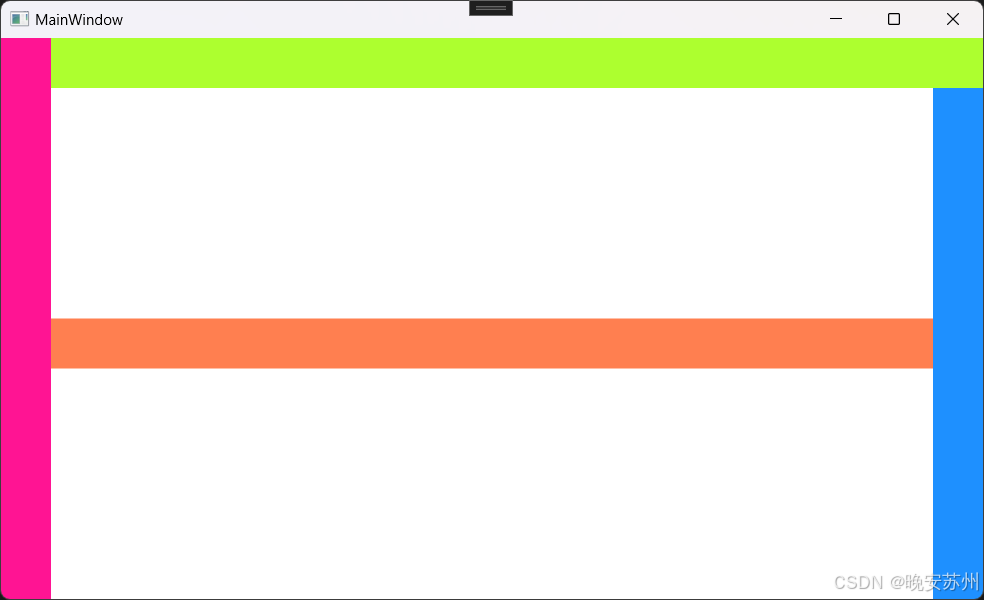
为什么底部 Grid 元素不是在最下面,跑中间去了?
默认情况下,后添加的元素只能使用剩余空间,无论对 DockPanel 的最后一个子元素设置任何停靠值,该子元素都将始终填满剩余的空间。如果不希望最后一个元素填充剩余区域,可以将 DockPanel 属性
LastChildFill设置为 false,还必须为最后一个子元素显式指定停靠方向。
我们可以做个实验,把底部 Grid 高度设置去掉,
<Grid DockPanel.Dock="Bottom" Background="Coral" />
就变成了,

最后我们实验一下 LastChildFill 设置
<DockPanel LastChildFill="False"><Grid DockPanel.Dock="Left" Width="40" Background="DeepPink" /><Grid DockPanel.Dock="Top" Height="40" Background="GreenYellow" /><Grid DockPanel.Dock="Right" Width="40" Background="DodgerBlue" /><Grid DockPanel.Dock="Bottom" Height="40" Background="Coral" />
</DockPanel>
