一、环境准备
首先我们先介绍下环境和实验中所需要的包
环境:
我使用的是centos7.6的系统
建议关掉selinux和影响到80端口的防火墙策略
selinux永久有效
修改 /etc/selinux/config 文件中的 SELINUX="" 为 disabled ,然后重启。
selinux即时生效
setenforce 0
关闭防火墙的方法为:
永久性生效
开启:chkconfig iptables on
关闭:chkconfig iptables off
即时生效,重启后失效
开启:service iptables start
关闭:service iptables stop
程序包:(若要自己编译安装请移步(php)(mariadb)(nginx)编译完参考下面的配置)
nginx(使用系统默认带的光盘里的包,搭建个人博客不建议,因为没必要)
mariadb mariadb-server(数据库使用maridb-server也是系统本地镜像里的)
php-fpm(用来管理php程序的,另外nginx不支持php模块)
php-mysql(用来事项php与数据库连接)
wordpress程序包官网地址: https://wordpress.org/download/
wordpress主题: https://wordpress.org/themes/
yum install nginx mariadb-server php-fpm php-mysql -y
systemctl enable nginx mariadb php-fpm 设置开机自启
二、各服务配置
1、nginx的配置
**(若按上文编译安装文件在 **(若不是在自定义的目录下)
Nginx配置
写nginx的配置文件也有两种方式,直接写主配置里,和写到conf.d文件夹下,这里使用第二种,其实没啥区别 (编译 vim /apps/nginx/conf/nginx.conf)
vim /etc/nginx/nginx.conf
在http配置段里添加
http {
fastcgi_cache_path /var/cache/nginx/fcgi_cache levels=1:2:1 keys_zone=fcgicache:20m inactive=120s;
#特别注意:用来设置缓存的一些参数,当你要做多虚拟主机时一定要在重新设置以个并在server配置段里修改
}
这个主要是定义缓存的一些配置,可直接拿来用 (编译 # mkdir /apps/nginx/conf/conf.d
vim /apps/nginx/conf/conf.d/blog.conf )
vim /etc/nginx/conf.d/blog.conf #必须conf后缀
server {
listen 80 ; #监听地址
server_name top.top ; #域名
root /data/wordpress ; #web的根路径
index index.php index.html index.hml; #默认索引
location / {
try_files $uri $uri/ /index.php?q=$uri&$args;
}
location ~* \.php$ {
fastcgi_pass 127.0.0.1:9000;
fastcgi_index index.php;
fastcgi_param SCRIPT_FILENAME $document_root$fastcgi_script_name;
include fastcgi_params;
fastcgi_cache fcgicache;
fastcgi_cache_key $request_uri;
fastcgi_cache_valid 200 302 10m;
fastcgi_cache_valid 301 1h;
fastcgi_cache_valid any 1m;
}
location ~* ^/(status|ping)$ { #用来查看网站的状态信息,可以不添加
fastcgi_pass 127.0.0.1:9000;
fastcgi_param SCRIPT_FILENAME $fastcgi_script_name;
include fastcgi_params;
}
location /files { #用来在网页访问文件夹,相当于做了个文件夹映射,可根据个人情况添加
root /data/wordpress;
autoindex on;
autoindex_exact_size off;
autoindex_localtime on;
}
}
nginx的配置基本就这些。
2、MySQL设置
在命令行输入mysql进入数据库
数据库的话可以再做些安全配置,这里就不演示啦
mysql
MariaDB [(none)]> create user 'wp_user'@'localhost' identified by '密码'; 创建个给wordpress使用的连接数据库的账号
MariaDB [(none)]> create database wordpress; 创建数据库
MariaDB [(none)]> grant all privileges on wordpress.* to 'wp_user'@'%'; 给wp_user用户授权
建议创建好后登陆测试一下
mysql -uwp_user -p
3、Php-Fpm设置
3.1、php的下载与安装
安装 epel-release源和 源管理工具yum-utils
# yum -y install epel-release yum-utils
安装Remi软件源
yum -y install https://rpms.remirepo.net/enterprise/remi-release-7.rpm
启用remi源php模块,安装php及扩展
yum启动php模块,根据需要选择自己格式的版本,如remi-php74模块,就是php7.4版本
yum-config-manager --enable remi-php743.2、安装php及相关扩展
yum -y install php php-cli php-fpm php-mysqlnd php-zip php-devel php-gd php-mbstring php-curl php-xml php-pear php-bcmath php-json php-redis
查看版本
-
php -v
-
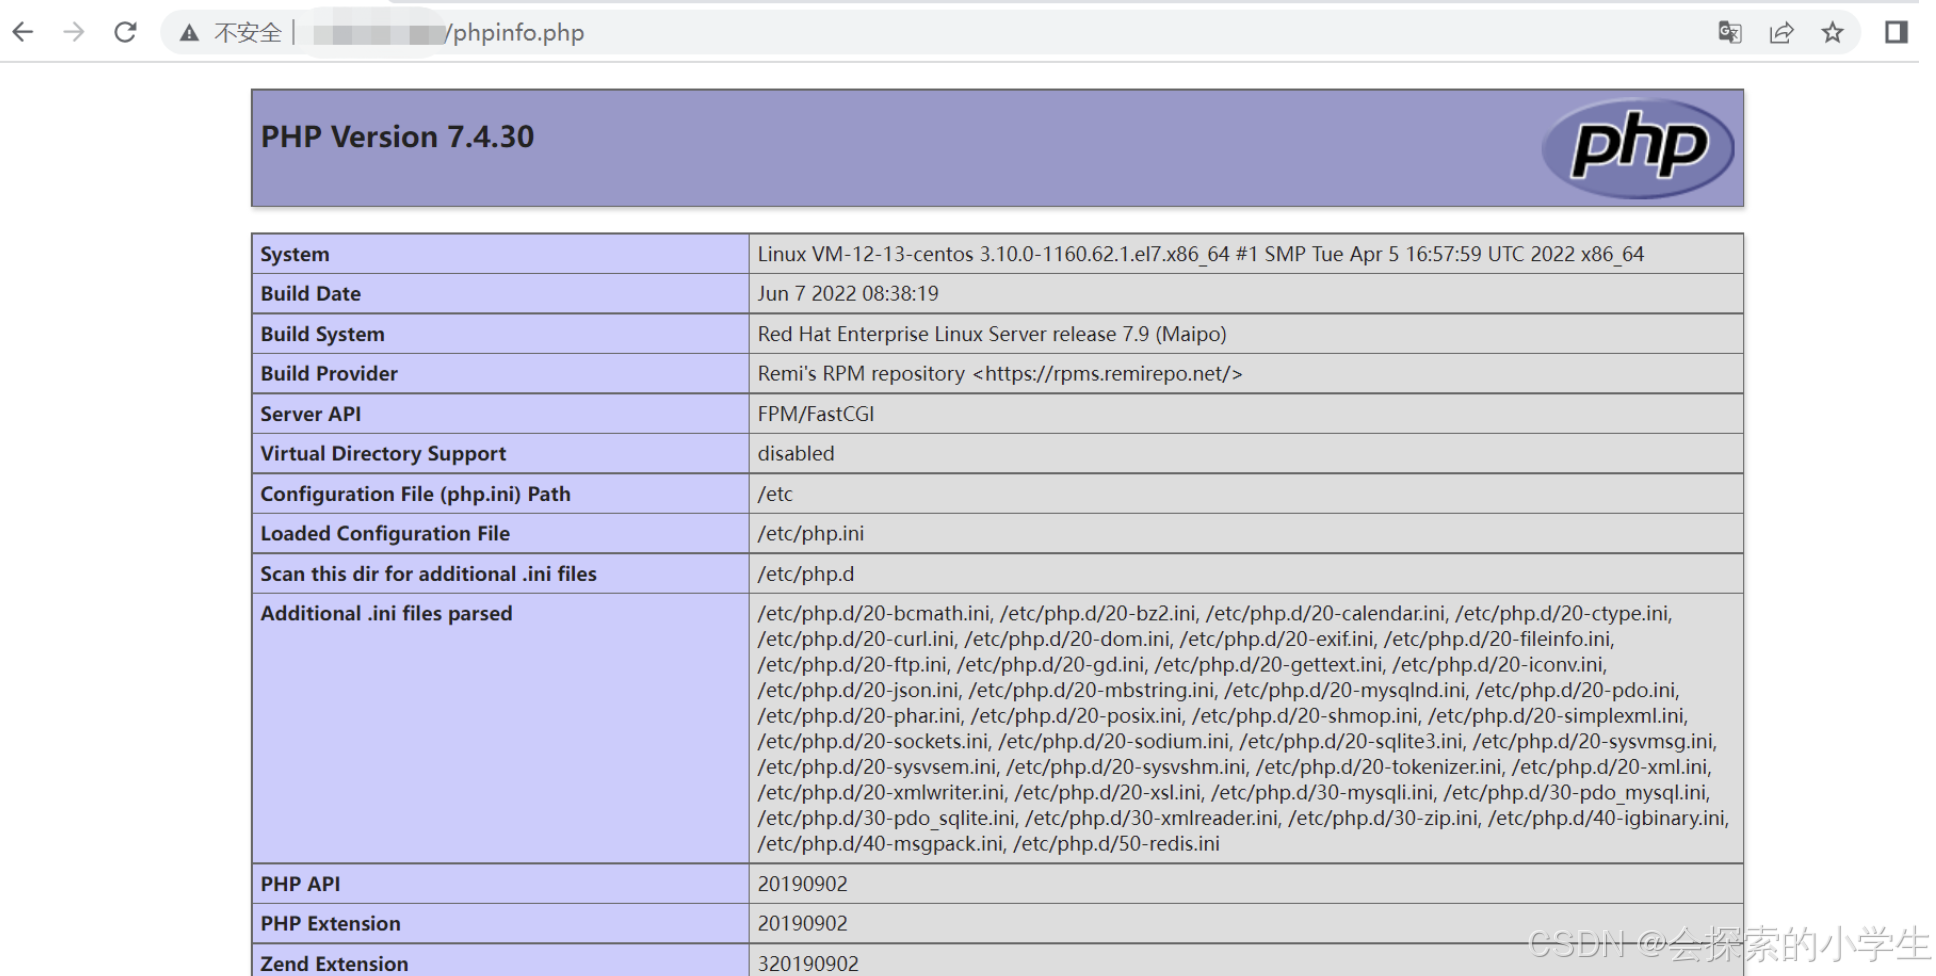
PHP 7.4.30 (cli) (built: Jun 7 2022 08:38:19) ( NTS )
-
Copyright (c) The PHP Group
-
Zend Engine v3.4.0, Copyright (c) Zend Technologies
3.4、启动PHP,并设置开机启动
#设置开机启动
[root@VM-12-13-centos /]# systemctl enable php-fpm
Created symlink from /etc/systemd/system/multi-user.target.wants/php-fpm.service to /usr/lib/systemd/system/php-fpm.service.
#启动php服务
[root@VM-12-13-centos /]# systemctl start php-fpm
#查看PHP运行状态
[root@VM-12-13-centos /]# systemctl status php-fpm
● php-fpm.service - The PHP FastCGI Process Manager
Loaded: loaded (/usr/lib/systemd/system/php-fpm.service; enabled; vendor preset: disabled)
Active: active (running) since 一 2022-06-13 11:17:55 CST; 9s ago
Main PID: 724 (php-fpm)
Status: "Ready to handle connections"
CGroup: /system.slice/php-fpm.service
├─724 php-fpm: master process (/etc/php-fpm.conf)
├─725 php-fpm: pool www
├─726 php-fpm: pool www
├─727 php-fpm: pool www
├─728 php-fpm: pool www
└─729 php-fpm: pool www
6月 13 11:17:55 VM-12-13-centos systemd[1]: Starting The PHP FastCGI Process Manager...
6月 13 11:17:55 VM-12-13-centos systemd[1]: Started The PHP FastCGI Process Manager.
[root@VM-12-13-centos /]#
它有好多的参数可以设置,也有好多坑,在这里会给大家说一下需要注意的地方 (编译 vim /usr/local/php/etc/php-fpm.d/www.conf)
vim /etc/php-fpm.d/www.conf
user = nginx #设置所属者所属组,不设置的话在装wordpress升级主题时有各种各样的权限问题
group = nginx
pm = ondemand #推荐使用这个模式,对他的详细介绍参考http://blog.luckynm.cn/?p=65
pm.max_children = 50 #这些都可以配置也可以默认,看情况
pm.start_servers = 5
pm.min_spare_servers = 5
pm.max_spare_servers = 35
pm.status_path = /status
pm.status_path = /status #后面这三个是用来设置在web页面上查看服务器状态信息的,配合nginx种server段的配置使用
ping.path = /ping
ping.response = pong
在Nginx的html目录下新建phpinfo.php文件
增加以下代码
-
<?php -
phpinfo (); -
?>
4、Wordpress配置
在做好前面的步骤后先不要启动,因为它们启动可能会有顺序问题
把下载下来的wordpress包传到本地,可以重新建一个文件夹存放也可以直接放到/root目录下
建议使用中文的包wordpress-5.0-zh_CN.tar.gz
mkdir -pv /data 创建data目录,这个要和nginx中root定义的根要一致
tar xvf wordpress-5.0-zh_CN.tar.gz -C /data/ 解压到/data目录下
chown -R nginx:nginx /data/wordpress 修改所属者所属组,不该没办法换主题升级插件,等一系列问题
cd /data/wordpress
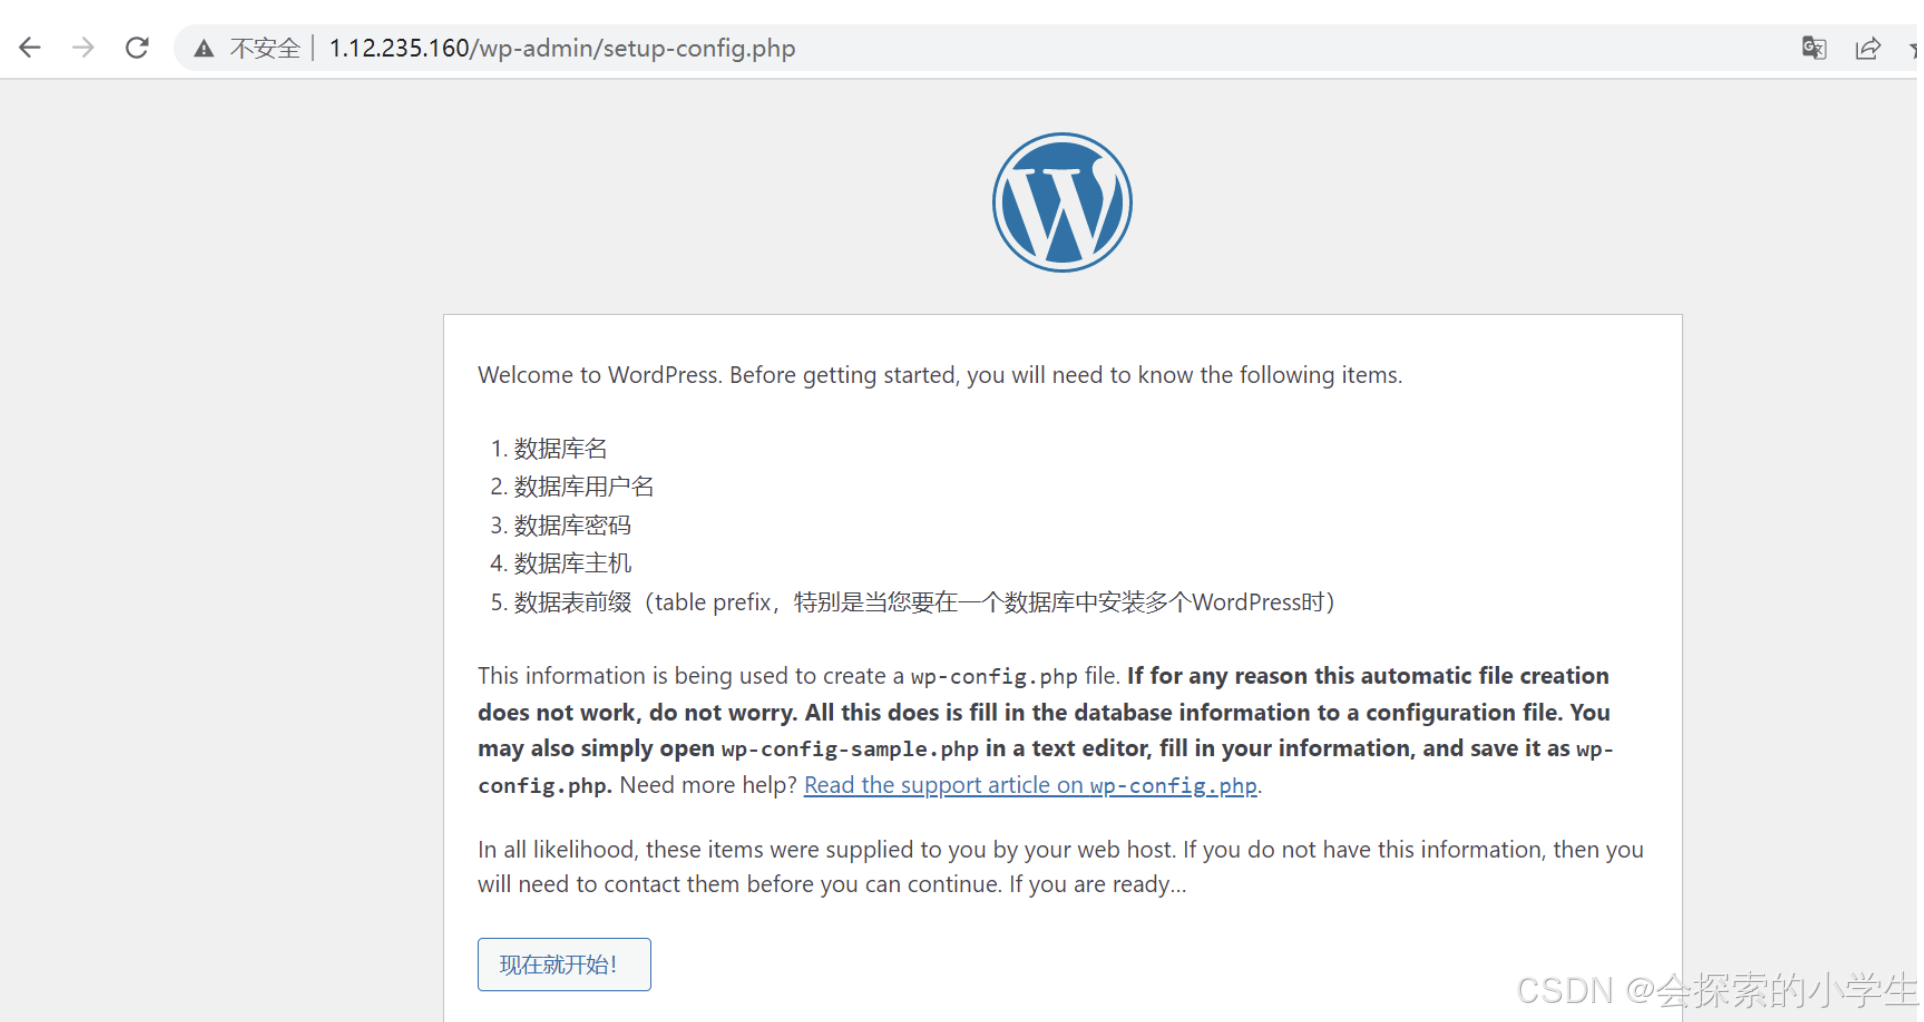
mv wp-config-sample.php wp-config.php 设置配置文件
vim wp-config.php
define('DB_NAME', 'wordpress'); WordPress数据库的名称
define('DB_USER', 'wp_user'); MySQL数据库用户名
define('DB_PASSWORD', '密码'); MySQL数据库密码
define('DB_HOST', 'localhost'); MySQL主机
启动
复制
systemctl start mariadb php-fpm
systemctl start nginx
4.1、网页打开服务器地址