编译
环境
macOS Ventrua 13.4
ffmpeg 7.7.1
Visual Studio Code Version: 1.99.0 (Universal)
操作
FFmpeg 下载源码
$ cd ffmpeg-x.y.z
$ ./configure
nasm/yasm not found or too old. Use --disable-x86asm for a crippled build.If you think configure made a mistake, make sure you are using the latest
version from Git.  If the latest version fails, report the problem to the
ffmpeg-user@ffmpeg.org mailing list or IRC #ffmpeg on irc.libera.chat.
Include the log file "ffbuild/config.log" produced by configure as this will help
solve the problem.# 听劝 + 考虑到后面需要调试
$ mkdir build
$ ./configure --prefix=./build --disable-x86asm --enable-debug --disable-stripping
$ make
编译成功后结果如下图
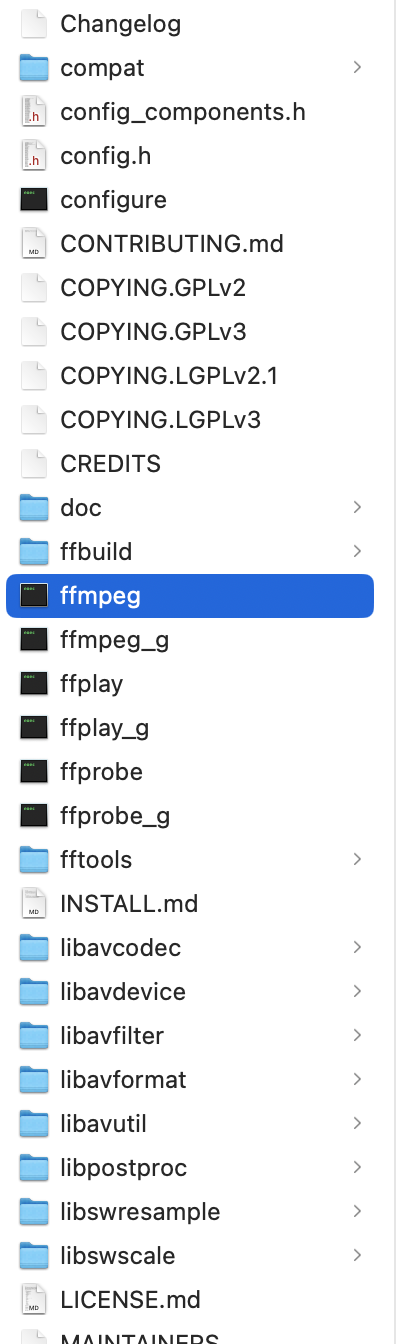
ffmpeg
常用库简介
来自参考1
| 库 | 介绍 |
|---|---|
| avcodec | 音视频编解码核心库 |
| avformat | 音视频容器格式的封装和解析 |
| avutil | 核心工具库 |
| swscal | 图像格式转换的模块 |
| swresample | 音频重采样 |
| avfilter | 音视频滤镜库,如视频加水印、音频变声 |
| avdevice | 输入输出设备库,提供设备数据的输入与输出,和硬件设备交互 |
准备
获取媒体信息
可以通过ffmpeg包含的工具命令ffprobe
# 获取mp3的信息
$ ffprobe -show_format 天空之城.mp3
输出结果如下,可知这个音频文件采样率是44.1KHz,双声道,码率是128kb
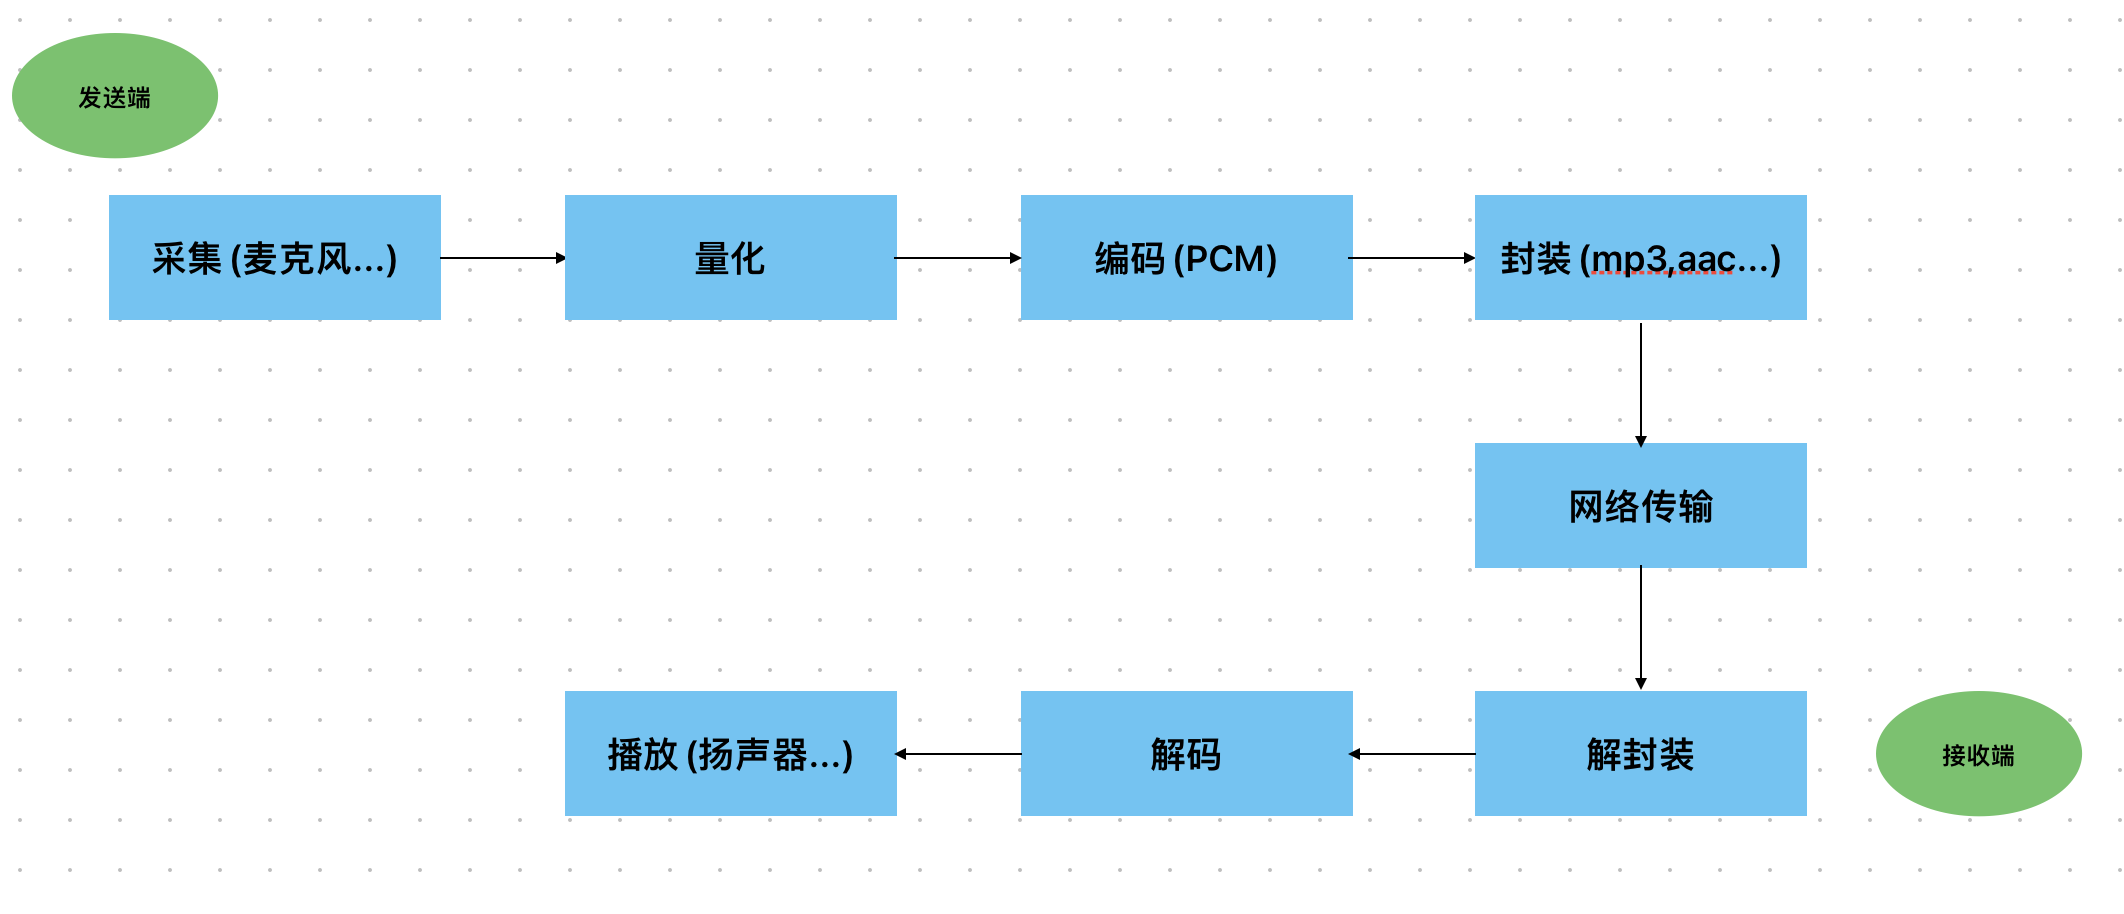
一个采样率为44.1KHz,采样大小为16bit,双声道的 PCM编码的WAV文件,它的数据速率则为44.1K×16×2=1411.2Kb/s。我们常说128K的MP3,对应的WAV的参数,就是这个 1411.2Kb/s,这个参数也被称为数据带宽,它和ADSL中的带宽是一个概念。
Input #0, mp3, from '天空之城.mp3':Duration: 00:03:00.35, start: 0.025057, bitrate: 128 kb/sStream #0:0: Audio: mp3, 44100 Hz, stereo, fltp, 128 kb/sMetadata:encoder         : LAME3.99rSide data:replaygain: track gain - -3.300000, track peak - unknown, album gain - unknown, album peak - unknown,
[FORMAT]
filename=天空之城.mp3
nb_streams=1
nb_programs=0
format_name=mp3
format_long_name=MP2/3 (MPEG audio layer 2/3)
start_time=0.025057
duration=180.349388
size=2886135
bit_rate=128024
解封装
将mp3文件转成pcm,选择双声道,采样率44100
# -y 允许覆盖
# -i 源文件
# -acodec pcm_s16le 编码器
# -f s16le 强制文件格式
# -ac 2 双声道
# -ar 44100 采样率
$ ffmpeg -y -i 天空之城.mp3 -acodec pcm_s16le -f s16le -ac 2 -ar 44100 天空之城.pcm
mp3压缩率差不多在1:10到1:12,原来大小是2.9M,转换成31.8M,
下载VLC来播放pcm文件
$ /Applications/VLC.app/Contents/MacOS/VLC --demux=rawaud --rawaud-channels 2 --rawaud-samplerate 44100 天空之城.pcm

调试ffmpeg
本文在mac环境上使用vscode来调试ffmpeg
用vscode打开ffmpeg目录,选中ffmpeg_g

点击左侧的调试功能,在出现的界面创建一个launch.json file
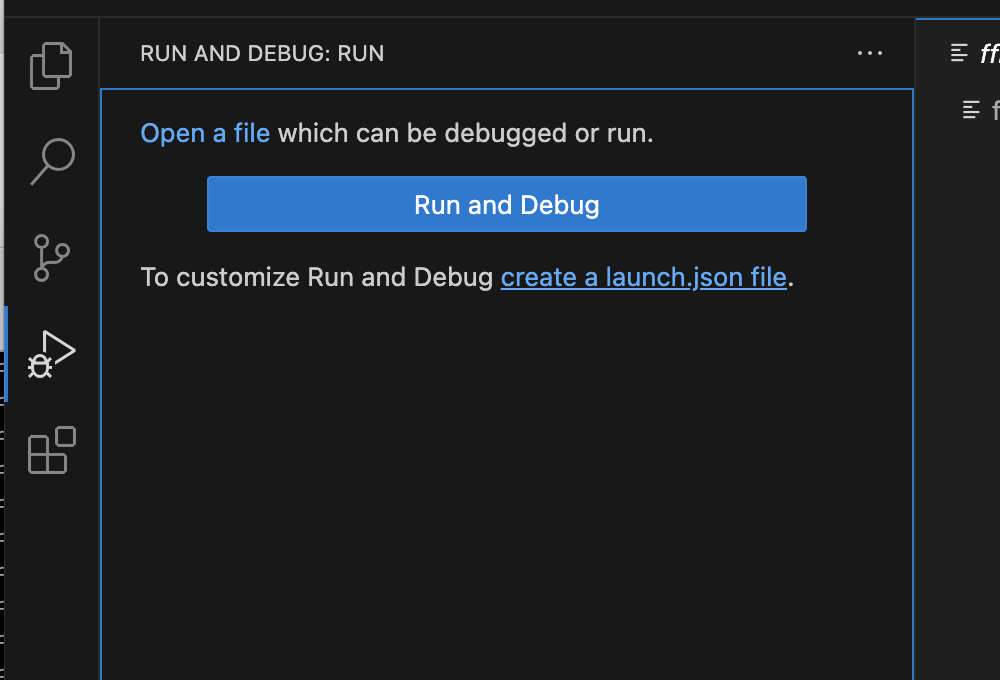
在出现的下拉选择框中选择Install extension
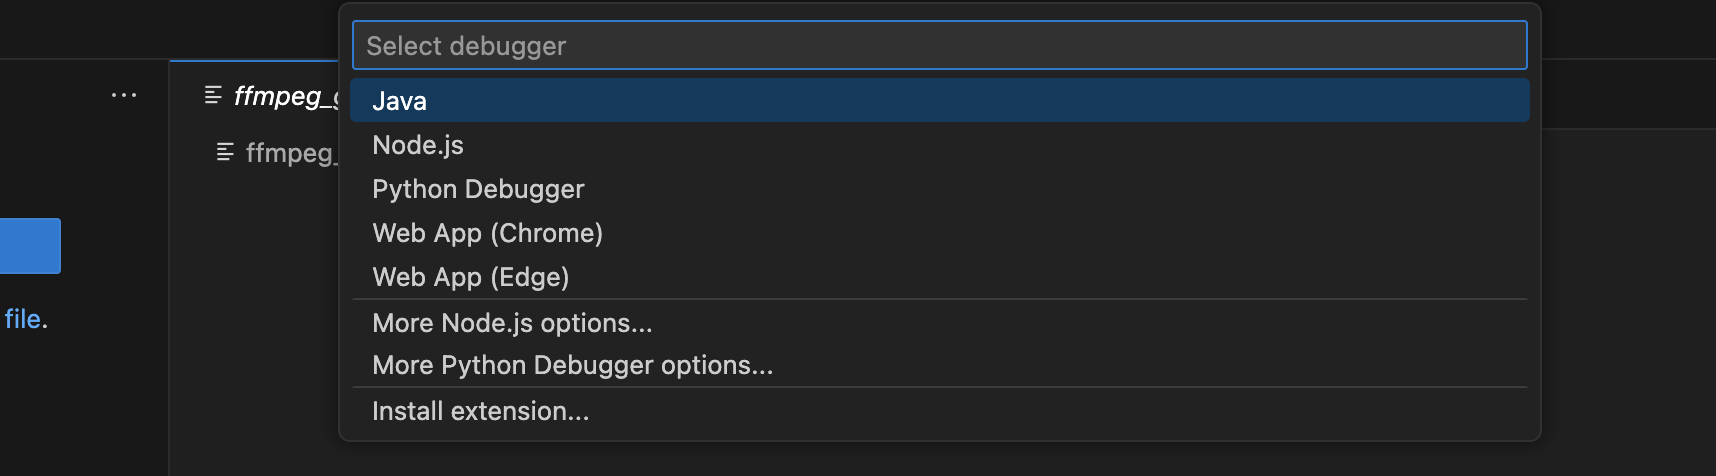
选择CodeLLDB
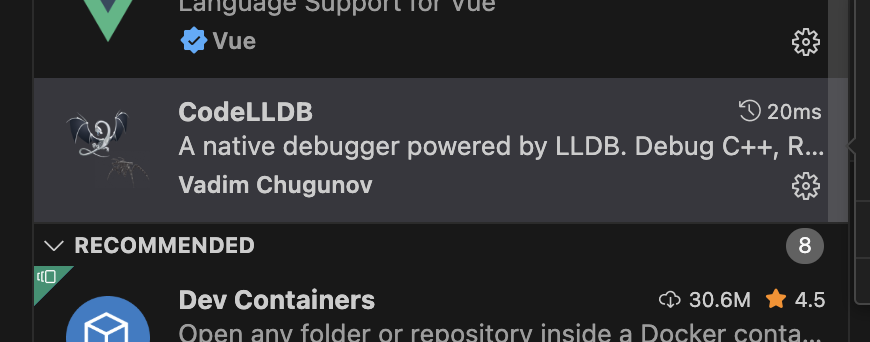
安装完成后再次点击,配置launch.json
{// Use IntelliSense to learn about possible attributes.// Hover to view descriptions of existing attributes.// For more information, visit: https://go.microsoft.com/fwlink/?linkid=830387"version": "0.2.0","configurations": [{"name": "ffmpeg","type": "cppdbg","request": "launch","program": "${workspaceFolder}/ffmpeg_g","args": ["-f", "avfoundation", "-list_devices", "true", "-i", "\"\""],"stopAtEntry": false,"cwd": "${fileDirname}","environment": [],"externalConsole": false,"MIMode": "lldb"}]
}
设置断点,点击调试
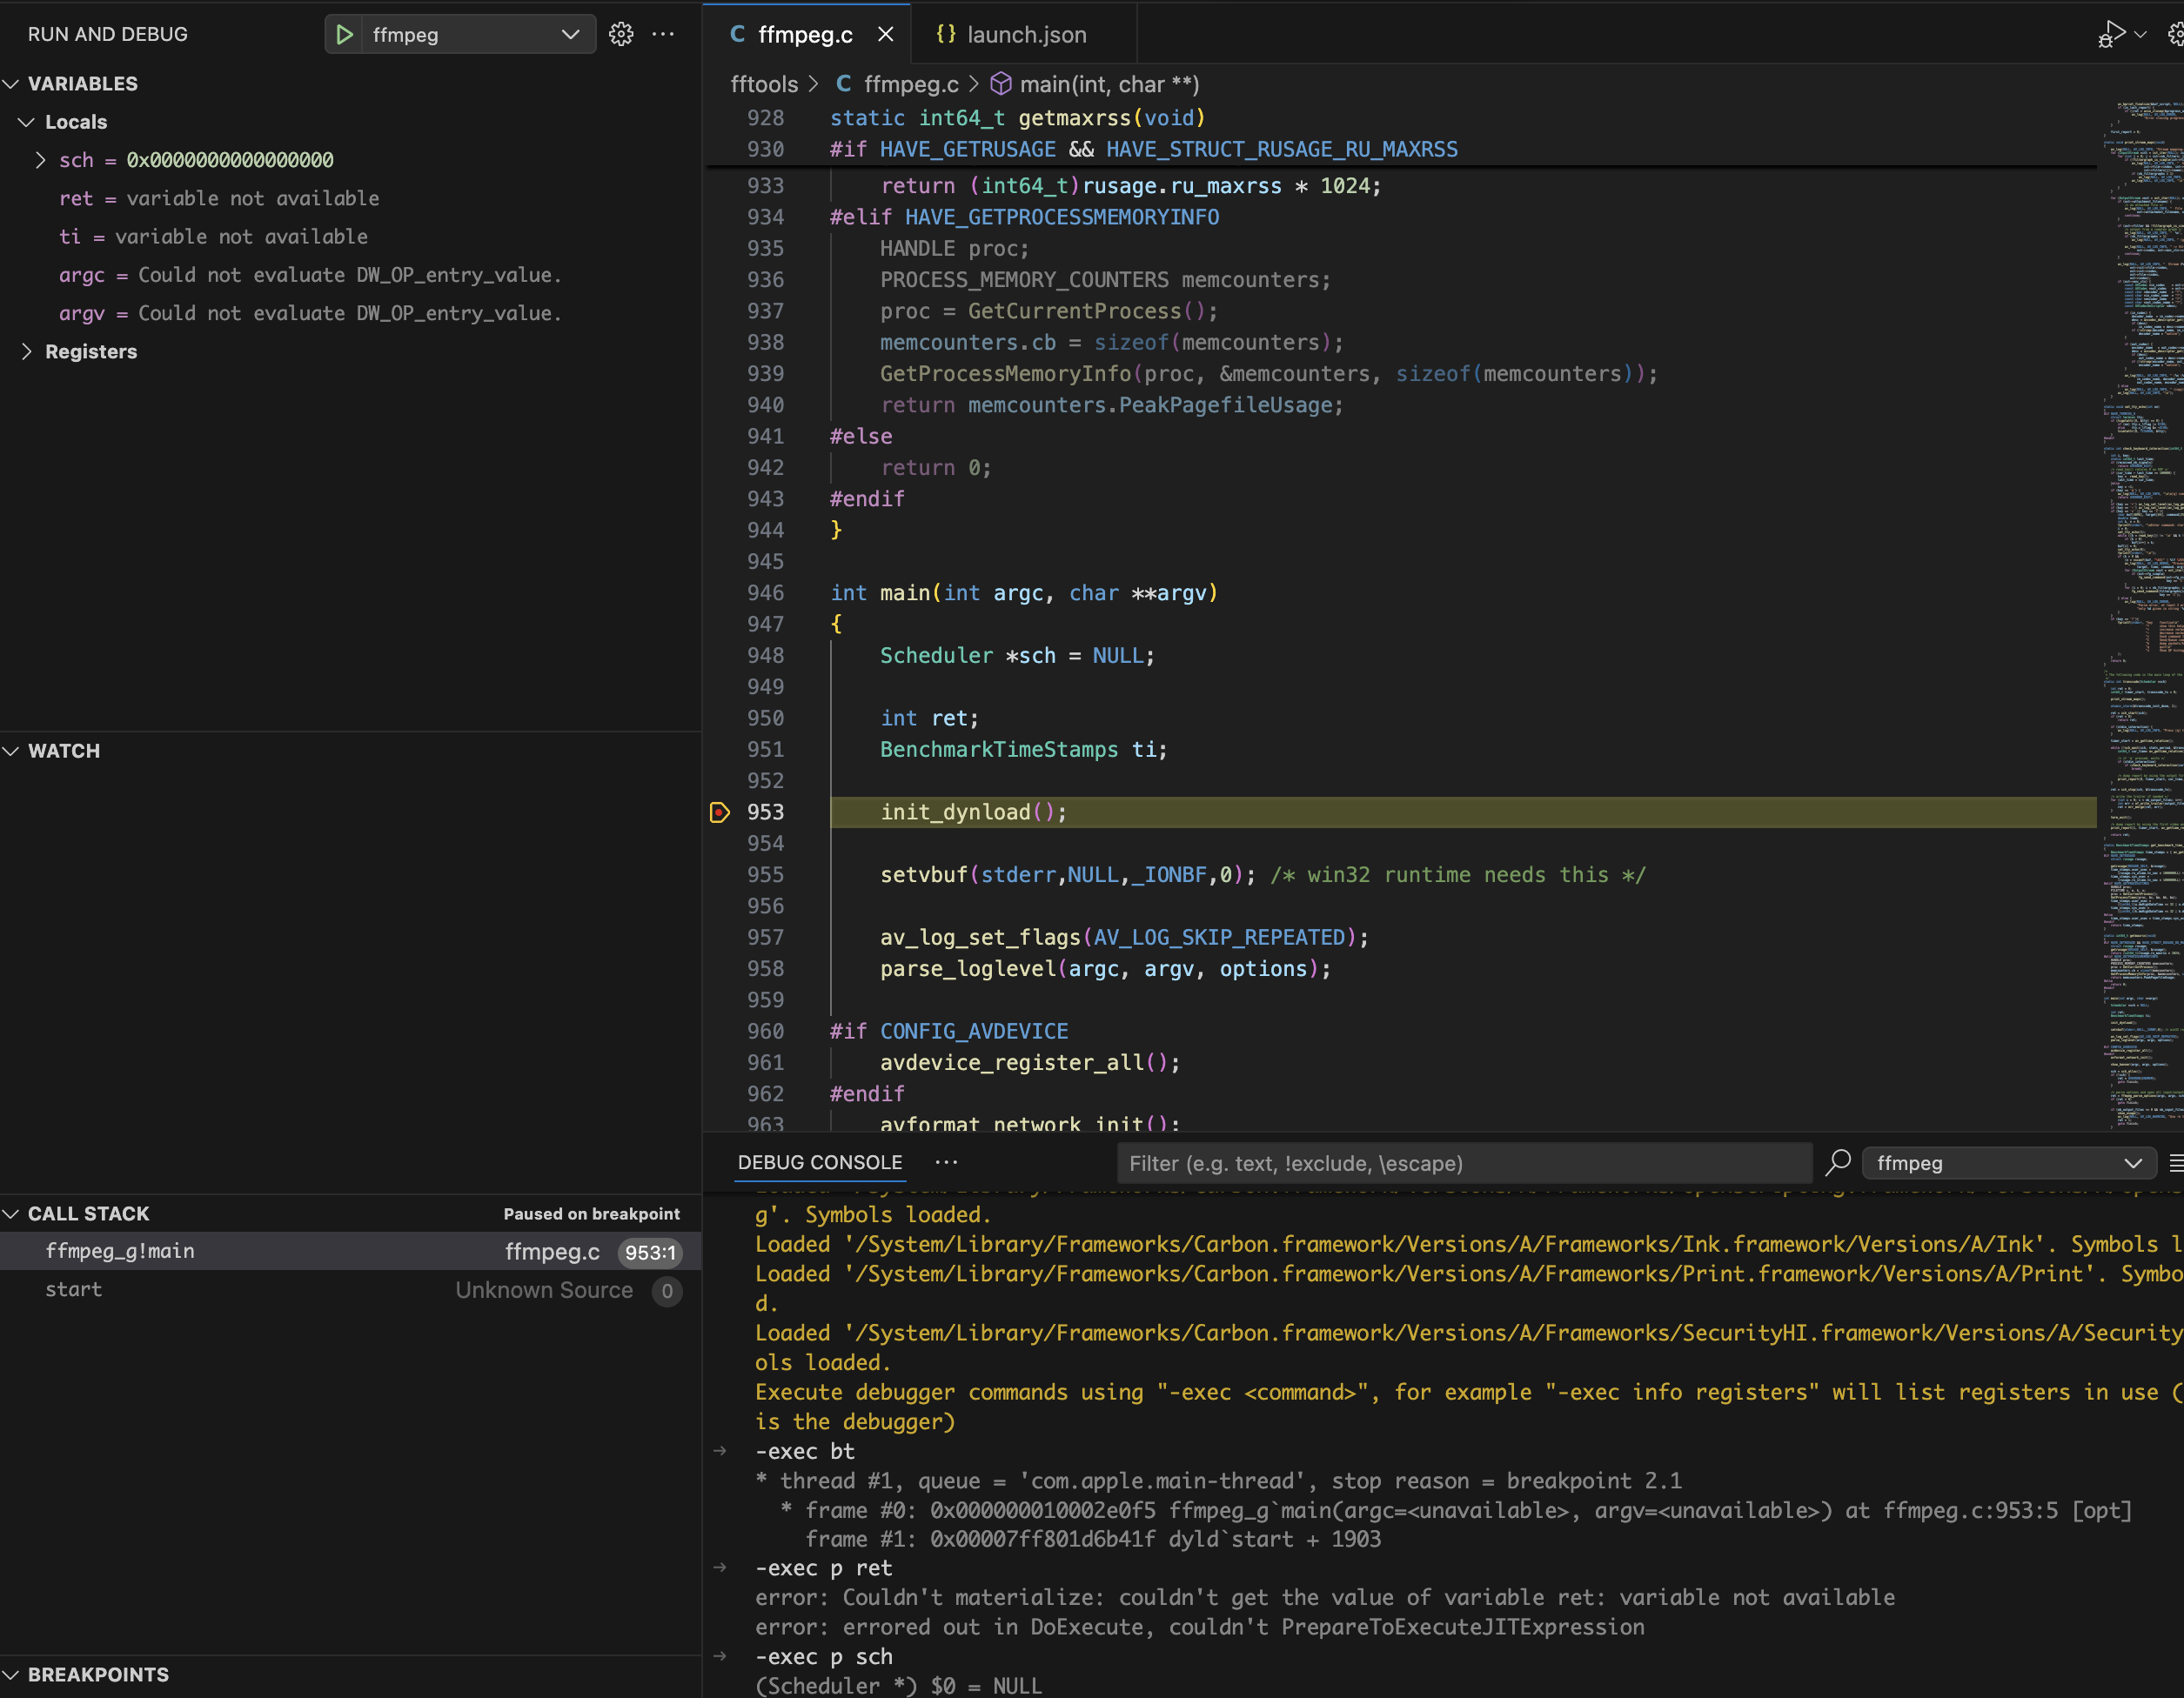
与在Xcode中调试不一样的是在交互窗口输入命令前要加一个 -exec。
参考
- ffmpeg 各库的介绍、解码流程、常用结构体
- ffmpeg处理pcm和mp3互转
- mac:VLC播放YUV文件和pcm文件(命令行)
- The macOS platform uses vscode to debug ffmpeg
- https://ffmpeg.xianwaizhiyin.net/base-knowledge/base-knowledge.html