1. 前言
最近在做项目时遇到需要将 UnityWebGL 嵌入到网页中去,且需要点击网页中的按钮 UnityWebGL 可以做出响应。新建项目部分直接略过
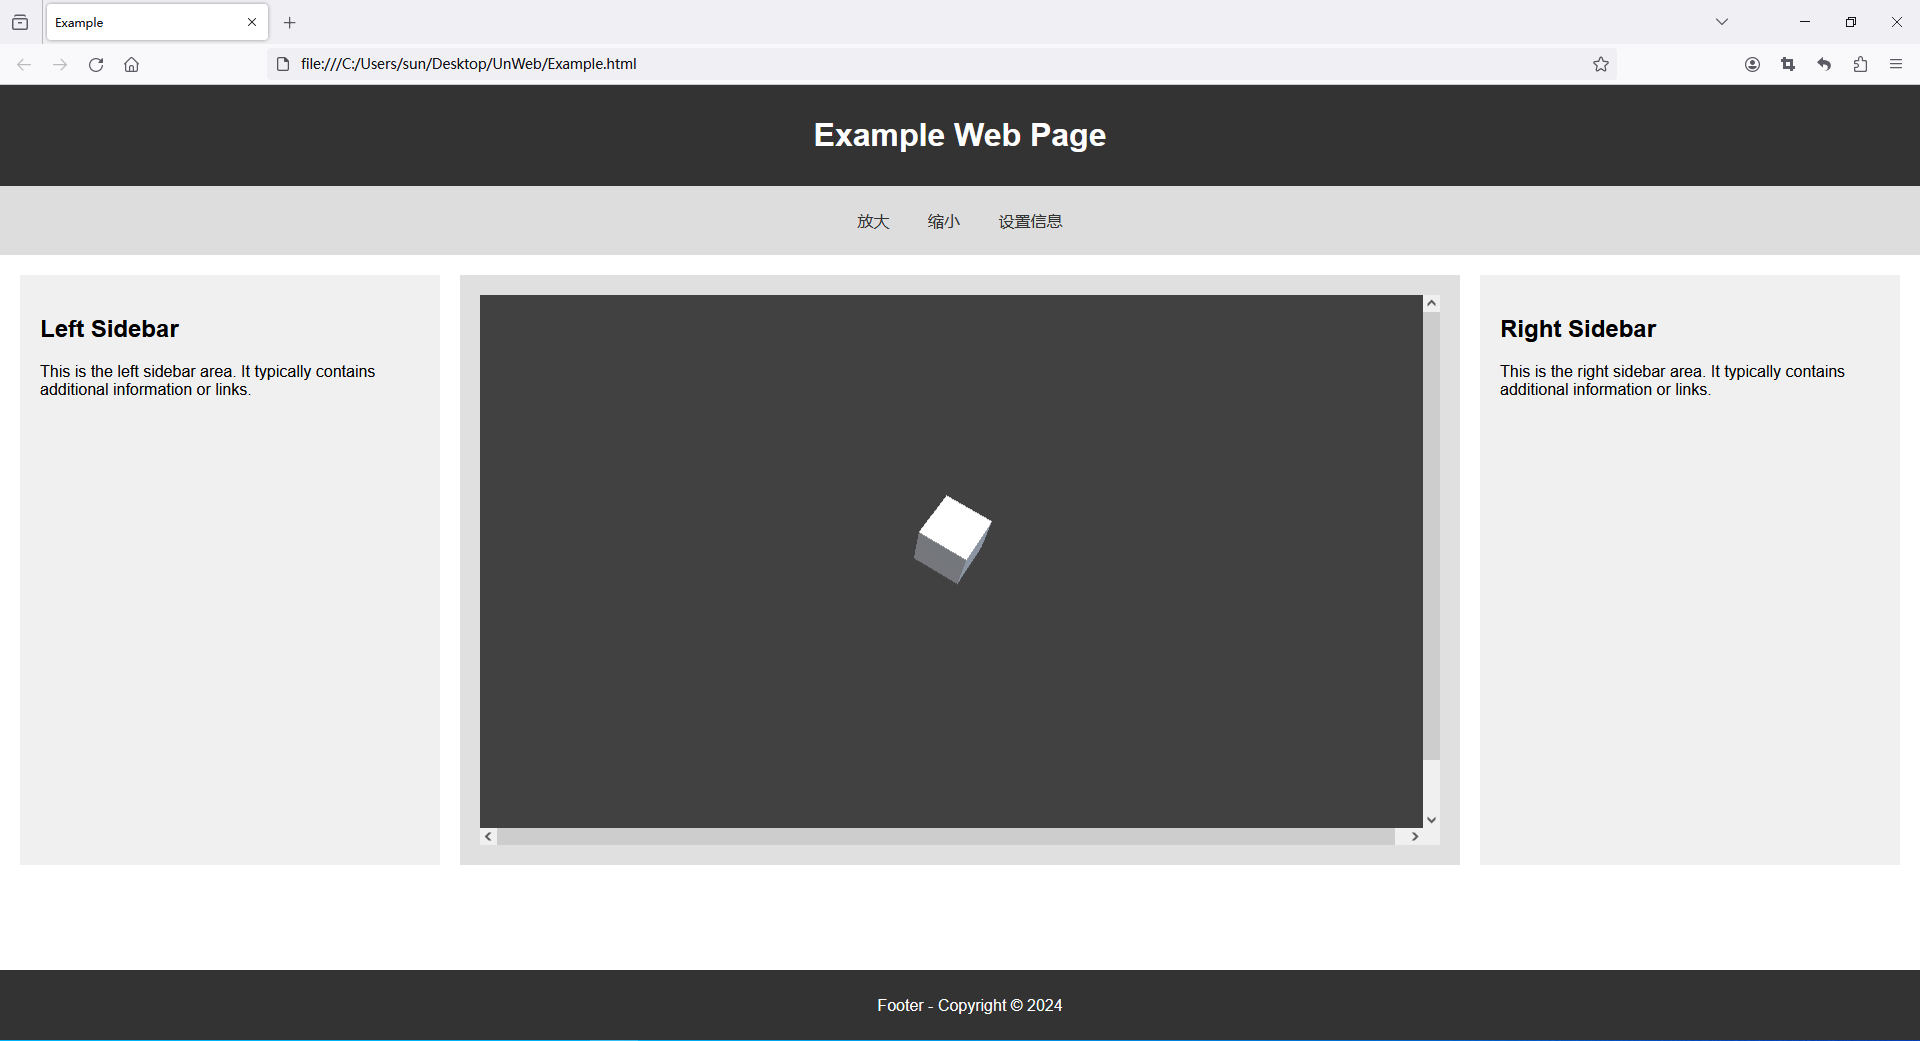
2. 最终效果
3. 基础设置
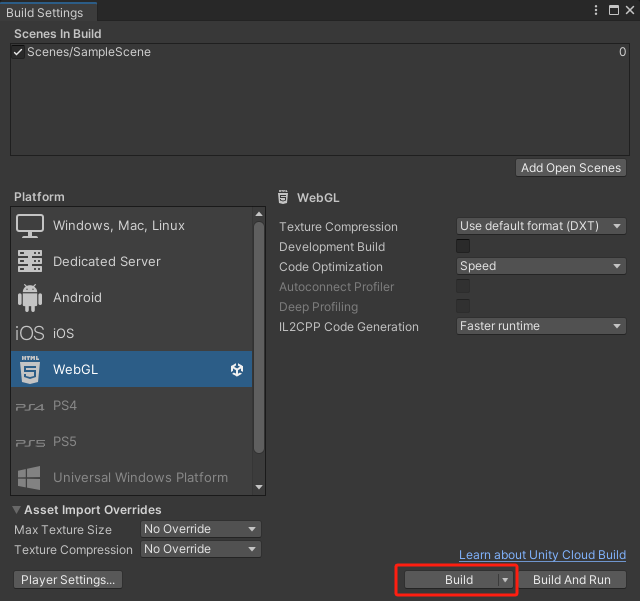
- 设置导出平台为WebGL

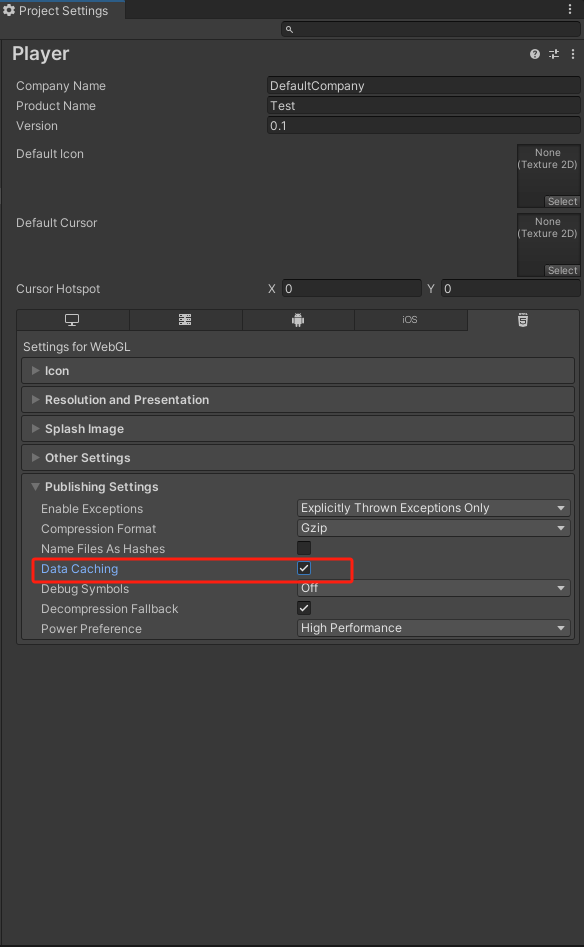
- 在Player Settings -> Publishing Settings 中勾选
Data Caching和Decompression Fallback选项下述链接是官方解释。
Data Caching简单来说就是缓存数据到本地下次打开不需要下载直接可以进入游戏
Decompression Fallback出现无法解析gz文件、web服务器配置错误等需勾选该选项
Unity - 手册:WebGL Player 设置 (unity3d.com)
4. 代码编写和导出
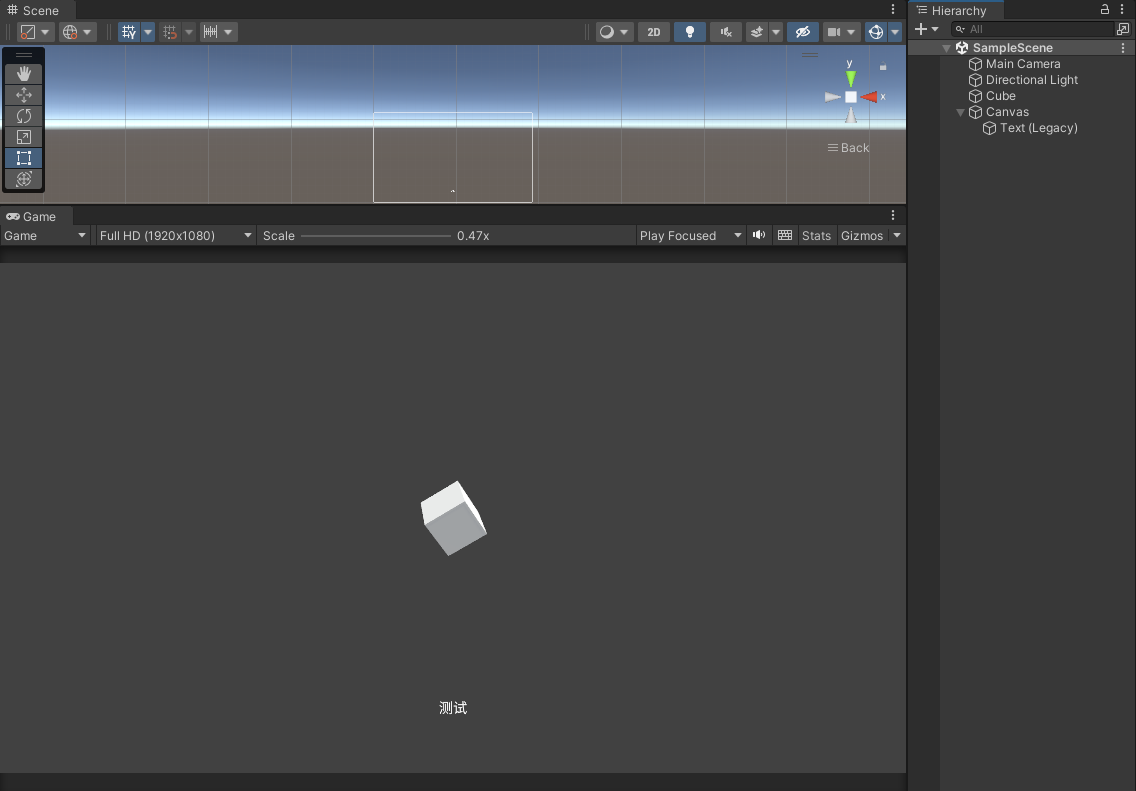
- 场景搭建如下(可根据自己需求创建场景)
- 代码部分(将该代码挂载到创建的Cube上)
注意:方法必须是 public 否则会访问不到
using System;
using System.Text;
using UnityEngine;
using UnityEngine.UI;  public class CubeRotate : MonoBehaviour
{  public Text tx;  void Update()  {        transform.Rotate(Vector3.up * Time.deltaTime * 30, Space.World);  }  public void SetTextInfo(string info)  {        byte[] bytes = Convert.FromBase64String(info);  var decodedMessage = Encoding.UTF8.GetString(bytes);  Debug.Log($"收到消息:{info}----{decodedMessage}");  tx.text = decodedMessage;  }  public void AddScale()  {        transform.localScale += Vector3.one * 0.1f;  }  public void SubtractScale()  {        transform.localScale -= Vector3.one * 0.1f;  }
}
- 导出WebGL (等待导出完成即可)
如需本地浏览打包好的文件则需要下载
Firefox浏览器,下载完成需要一些配置具体参火狐浏览器打开webgl_火狐打开web gl-CSDN博客
5. 示例网页
考虑到有小伙伴可能不会写网页,笔者提供一个简单的网页模板供大家测试使用
使用方法:新建文本文件将下述代码粘贴进去保存并更改文件后缀为
.html

<!DOCTYPE html>
<html lang="en"><head><meta charset="UTF-8" /><meta name="viewport" content="width=device-width, initial-scale=1.0" /><title>Simple Web Page</title><style>body {margin: 0;padding: 0;font-family: Arial, sans-serif;}.header {background-color: #333;color: white;padding: 10px;text-align: center;}.nav {background-color: #ddd;padding: 10px;text-align: center;}.nav-button {background-color: #ddd;border: none;color: #333;padding: 10px 15px;text-align: center;text-decoration: none;display: inline-block;font-size: 16px;margin: 4px 2px;cursor: pointer;border-radius: 4px; /* 圆角边框 */}.nav-button:hover {background-color: #ccc;}.nav a {color: #333;text-decoration: none;margin-right: 10px;}.container {display: flex;justify-content: space-between;padding: 20px;}.sidebar,.main {padding: 20px;height: 550px;overflow: hidden;}.sidebar {background-color: #f0f0f0;flex: 0 0 380px; /* Fixed width for sidebar */}.main {background-color: #e0e0e0;flex: 0 0 960px; /* Fixed width for main content */}.sidebar-left {margin-right: 20px; /* Adjust the margin for the left sidebar */}.sidebar-right {margin-left: 20px; /* Adjust the margin for the right sidebar */}.footer {background-color: #333;color: white;text-align: center;padding: 10px;position: fixed;bottom: 0;width: 100%;}</style></head><body><div class="header"><h1>My Simple Web Page</h1></div><div class="nav"><button id="enlargeButton" class="nav-button">放大</button><button id="shrinkButton" class="nav-button">缩小</button><button id="infoButton" class="nav-button">设置信息</button></div><div class="container"><div class="sidebar sidebar-left"><h2>Left Sidebar</h2><p>This is the left sidebar area. It typically contains additionalinformation or links.</p></div><div class="main">WebGL网页</div><div class="sidebar sidebar-right"><h2>Right Sidebar</h2><p>This is the right sidebar area. It typically contains additionalinformation or links.</p></div></div><div class="footer"><p>Footer - Copyright © 2024</p></div></body><script>// JS 代码</script>
</html>
6. 嵌入WebGL
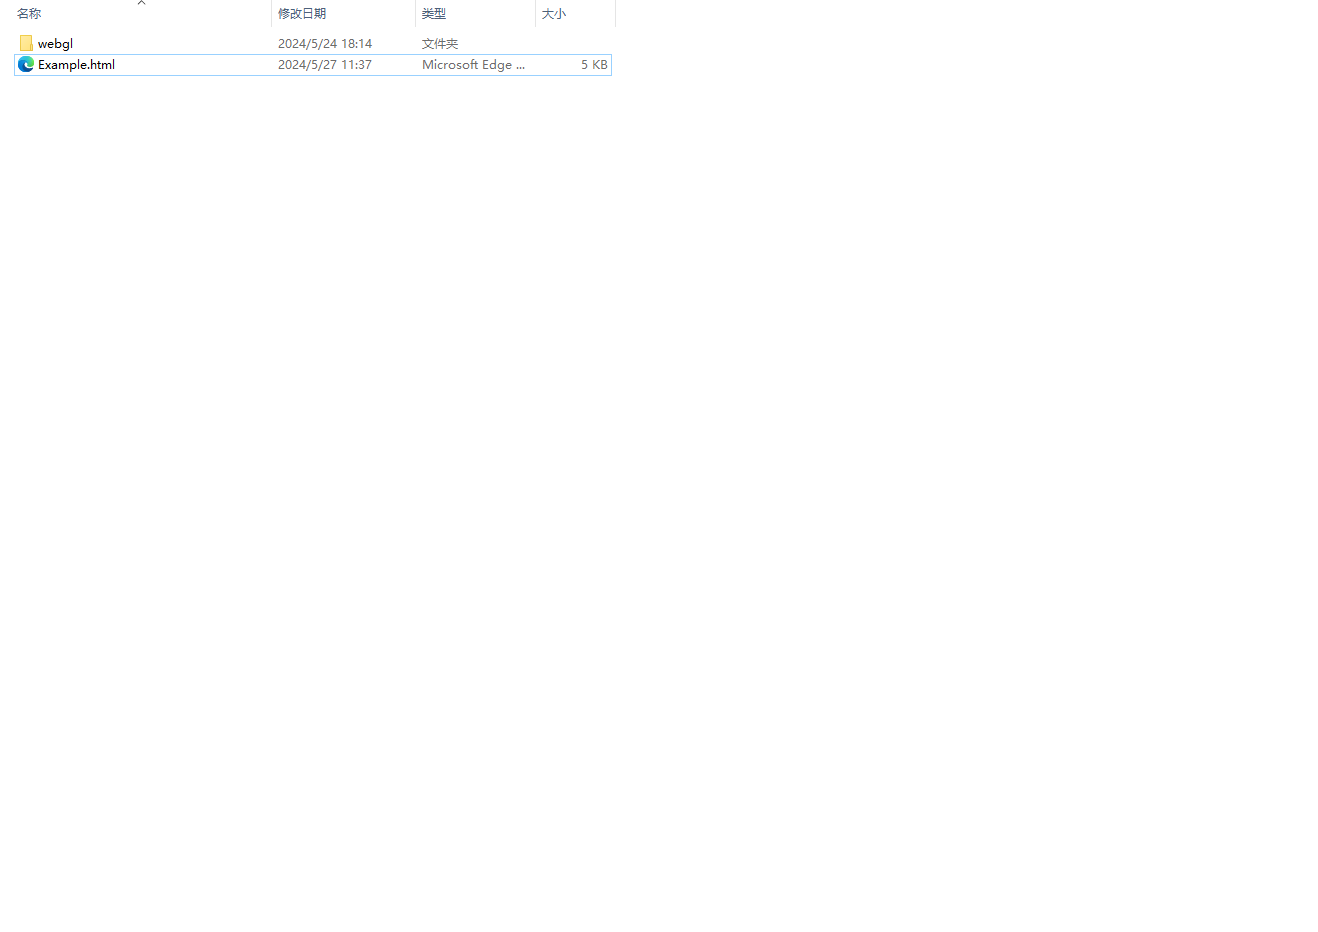
- 创建文件夹将打包好的WebGL和网页放在同一文件夹下,如下图(这步的主要是为了好管理,也可以不用这样做)
- 使用IDE打开网页,在代码中找到下图红框标记的位置
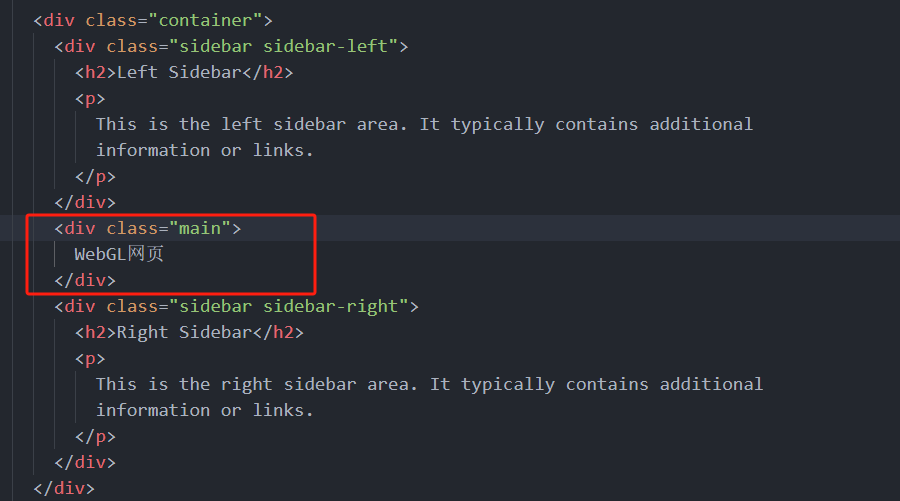
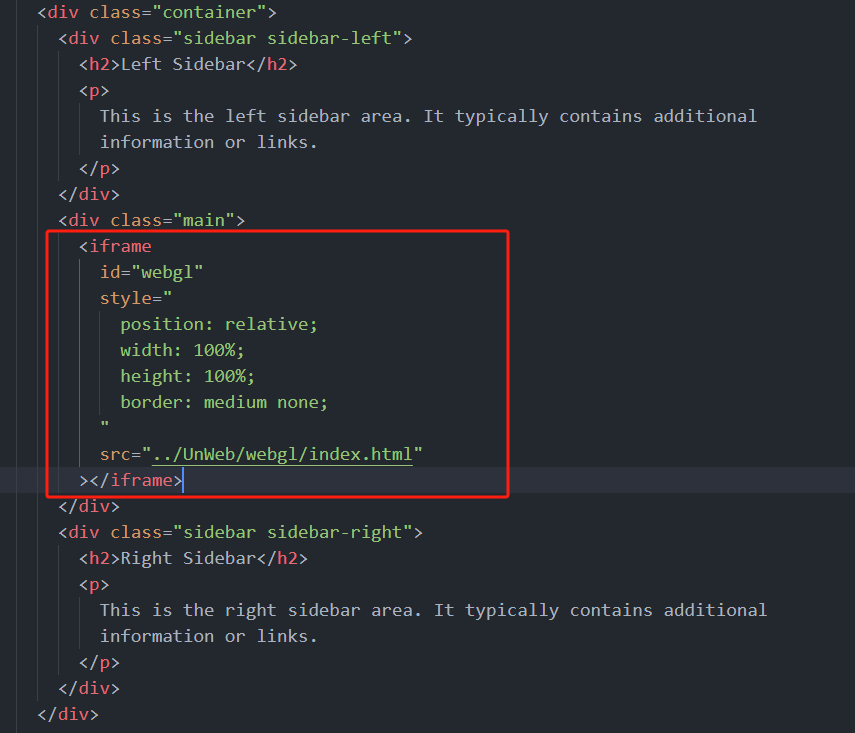
- 将div标签中的内容替换为下述代码,如果你的WebGL项目已经部署在服务器上,则可将iframe标签中的
src链接改为服务器地址即可。(关于iframe可参考HTML Iframe (w3school.com.cn))保存后使用Firefox浏览器打开网页,已经部署在服务器上的项目则可以使用任意支持WebGL的浏览器打开。
<iframeid="webgl"style="position: relative;width: 100%;height: 100%;border: medium none;"src="../UnWeb/webgl/index.html"></iframe>
7. 网页调用 Unity 方法
- 在代码中找到下图红框标记的位置

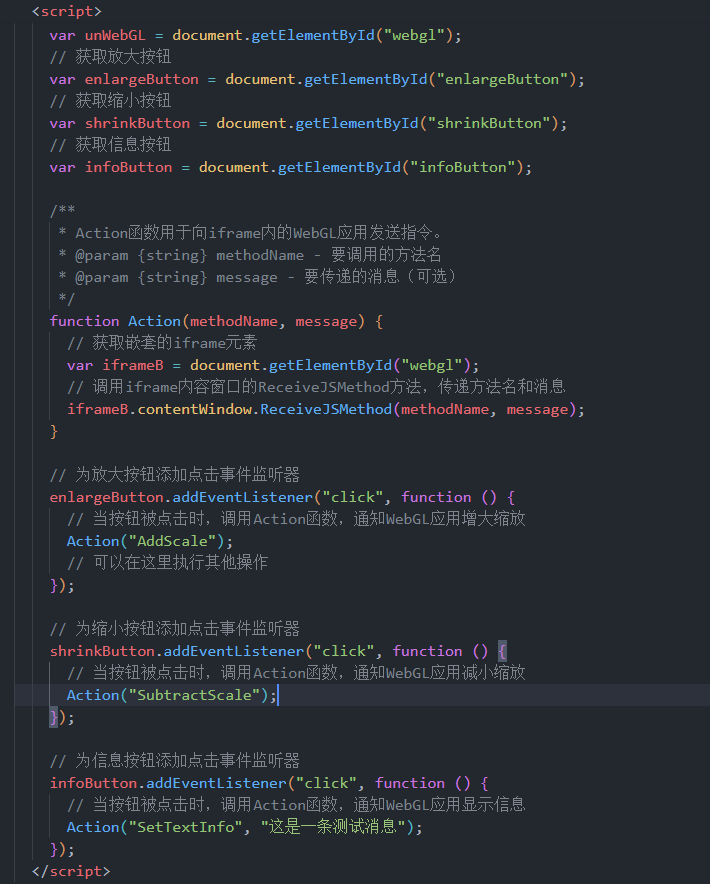
- 将script标签中的内容替换为下述代码(代码比较简单且都有注释笔者就不做过多解释)
注意:
methodName必须和Unity中的方法名一致否则会找不到方法
// 获取DOM中id为"webgl"的iframe元素var unWebGL = document.getElementById("webgl");// 获取放大按钮var enlargeButton = document.getElementById("enlargeButton");// 获取缩小按钮var shrinkButton = document.getElementById("shrinkButton");// 获取信息按钮var infoButton = document.getElementById("infoButton");/*** Action函数用于向iframe内的WebGL应用发送指令。* @param {string} methodName - 要调用的方法名* @param {string} message - 要传递的消息(可选)*/function Action(methodName, message) {// 获取嵌套的iframe元素var iframeB = document.getElementById("webgl");// 调用iframe内容窗口的ReceiveJSMethod方法,传递方法名和消息iframeB.contentWindow.ReceiveJSMethod(methodName, message);}// 为放大按钮添加点击事件监听器enlargeButton.addEventListener("click", function () {// 当按钮被点击时,调用Action函数,通知WebGL应用增大缩放Action("AddScale");// 可以在这里执行其他操作});// 为缩小按钮添加点击事件监听器shrinkButton.addEventListener("click", function () {// 当按钮被点击时,调用Action函数,通知WebGL应用减小缩放Action("SubtractScale");});// 为信息按钮添加点击事件监听器infoButton.addEventListener("click", function () {// 当按钮被点击时,调用Action函数,通知WebGL应用显示信息Action("SetTextInfo", "这是一条测试消息");});
- 完成上述步骤后,使用IDE打开WebGL网页(下图中的index.html文件)

- 找到script标签,在该标签下找到初始化加载器的代码。并将红框中的代码添加进去。
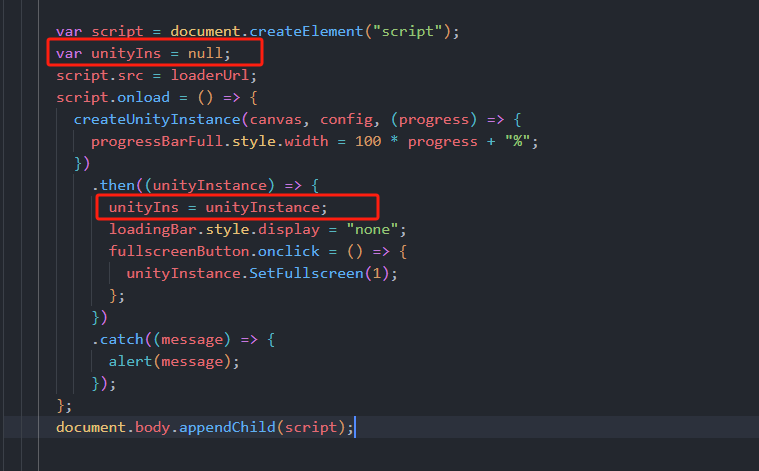
var unityIns = null;script.src = loaderUrl;script.onload = () => {createUnityInstance(canvas, config, (progress) => {progressBarFull.style.width = 100 * progress + "%";}).then((unityInstance) => {unityIns = unityInstance;loadingBar.style.display = "none";fullscreenButton.onclick = () => {unityInstance.SetFullscreen(1);};}).catch((message) => {alert(message);});};
- 创建给Unity发送消息的代码,这里我们简单解释一下代码中用到的
SendMessage方法它允许你从 JavaScript 代码中调用 Unity 场景中游戏对象的特定方法。
注意:
SendMessage方法有三个参数:
目标对象名称:这是场景中游戏对象的名称,你想要调用的方法就定义在这个对象上。
方法名称:这是你想要调用的方法的名称,它应该是目标对象上脚本中的一个公共方法。
参数:这是你想要传递给方法的参数。在 Unity 的 SendMessage 中,这个参数只能是字符串类型。如果你需要传递更复杂的数据,你可能需要使用其它机制。
- 下述方法笔者已经做了简单的封装,你只需要更改目标对象名称即可。如需更详细的解释可参考Unity - 手动:从 JavaScript 调用 Unity C# 脚本函数 (unity3d.com)
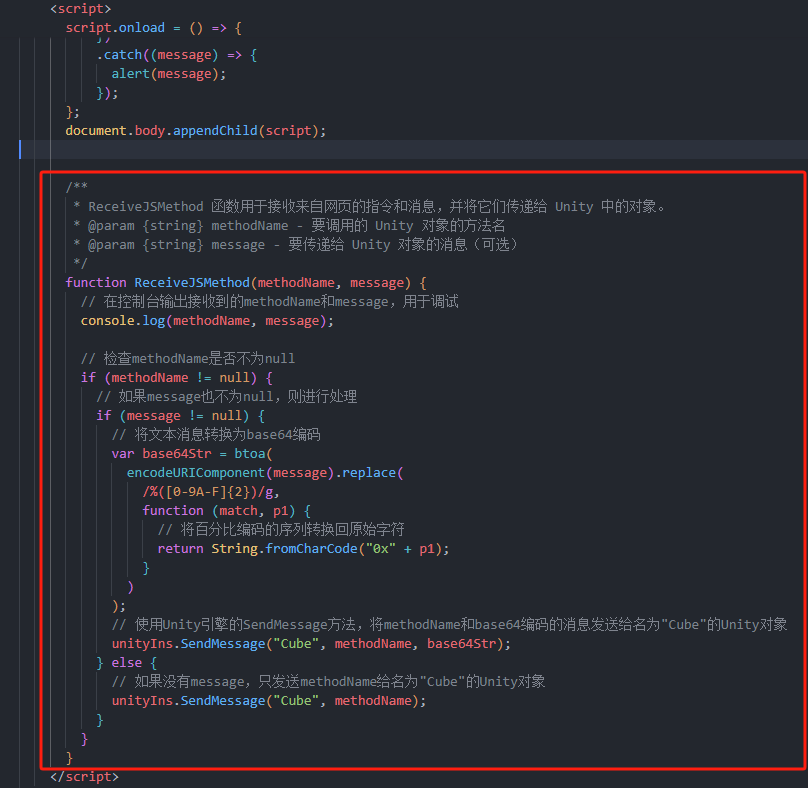
/*** ReceiveJSMethod 函数用于接收来自网页的指令和消息,并将它们传递给 Unity 中的对象。* @param {string} methodName - 要调用的 Unity 对象的方法名* @param {string} message - 要传递给 Unity 对象的消息(可选)*/function ReceiveJSMethod(methodName, message) {// 在控制台输出接收到的methodName和message,用于调试console.log(methodName, message);// 检查methodName是否不为nullif (methodName != null) {// 如果message也不为null,则进行处理if (message != null) {// 将文本消息转换为base64编码var base64Str = btoa(encodeURIComponent(message).replace(/%([0-9A-F]{2})/g,function (match, p1) {// 将百分比编码的序列转换回原始字符return String.fromCharCode("0x" + p1);}));// 使用Unity引擎的SendMessage方法,将methodName和base64编码的消息发送给名为"Cube"的Unity对象unityIns.SendMessage("Cube", methodName, base64Str);} else {// 如果没有message,只发送methodName给名为"Cube"的Unity对象unityIns.SendMessage("Cube", methodName);}}}
8. 结束
好了,今天就写到这吧~
对你有帮助的话可以点赞、关注、收藏,有问题评论区见哈~
原创不易,若转载请注明出处,感谢大家~