文章目录
- 几个知识概念
- flv
- RTMP
- RTSP
- nginx 配置
浏览器中的 video 标签正常传入 mp4 对应的格式,就可以播放了,对于其他视频的格式并不太支持。
工相机采集到的是 rtsp 格式的视频流,想要在前端播放,可以转成 rtmp 的视频流,然后通过 nginx 的 rtmp 代理成 flv 格式的,前端支持 flv 格式的视频播放,通过安装 flv 的插件即可。
几个知识概念
flv
原生<font style="color:rgba(0, 0, 0, 0.9);">video</font>标签只支持Ogg、MPEG4、WebM三种格式,无法直接播放FLV格式。但可以借助bilibili开源的<font style="color:#DF2A3F;">flv.js</font> 插件实现播放。<font style="color:rgba(0, 0, 0, 0.9);">flv.js</font> 在获取到FLV格式的音视频数据后将FLV文件流转码复用成ISOBMFF(MP4碎片)片段,再通过MediaSource Extensions API传递给原生HTML5 <font style="color:rgba(0, 0, 0, 0.9);">Video</font>标签进行播放。<font style="color:rgba(0, 0, 0, 0.9);">flv.js</font> 使用ECMAScript6编写,通过Babel Compiler编译成ECMAScript5,使用Browserify打包。这种方式兼容目前大多数采用FLV容器格式传输音视频数据的直播方案,且FLV格式简单,相比于MP4格式转封装简单、性能上占优势,解析起来更快更方便。
在 node 环境中安装
npm install flv.js
RTMP
RTMP一般传输的为FLV流,本身不能直接在浏览器播放,但可以将RTMP流转换为其他可在浏览器播放的格式,如转成HTTP - FLV后用<font style="color:rgba(0, 0, 0, 0.9);">flv.js</font> 播放,或者转成HLS后用<font style="color:rgba(0, 0, 0, 0.9);">video.js</font> 播放。
RTSP
RTSP是一种用于实时音视频流传输的协议,在浏览器中播放存在一定挑战,不过有多种解决方案。
遇到的工业场景,需要使用相机去拍摄,然后在前端去展示,相开启拍摄后是底层用 c++代码将每一秒钟的图像变为 rtsp 的流。
目前使用的方案
RTSP转RTMP到RTMP服务器,转HTTP - FLV:播放端用<font style="color:rgba(0, 0, 0, 0.9);">flv.js</font> 播放。

nginx 配置
在 windows 下面,不能使用普通的 nginx 版本。需要使用 FLV-RTMP 的 nginx 服务器
普通的 nginx 是不能作为 RTMP 的服务器的,在 windows 下面需要用特定的 nginx 服务器才可以。
20211028GxKjCt5R.zip
解压 nginx 文件:
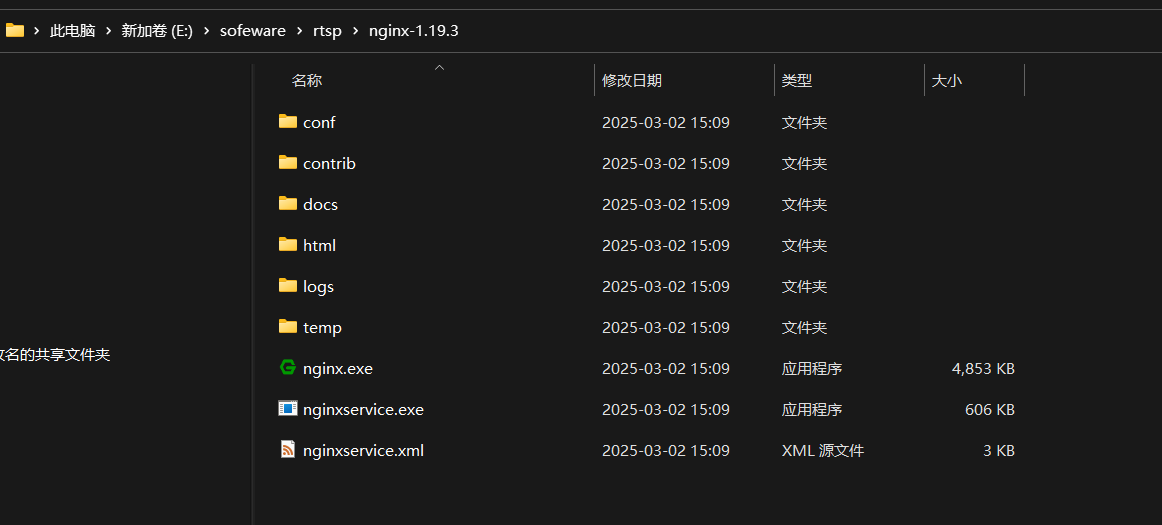
启动 nginx
nginx.exe -c conf\nginx.conf
停止 nginx 服务
taskkill /f /t /im nginx.exe
nginx.conf 配置文件
#user  nobody;
worker_processes  1;#error_log  logs/error.log;
#error_log  logs/error.log  notice;
#error_log  logs/error.log  info;#pid        logs/nginx.pid;events {worker_connections  4096;
}http {include       mime.types;default_type  application/octet-stream;#log_format  main  '$remote_addr - $remote_user [$time_local] "$request" '#                  '$status $body_bytes_sent "$http_referer" '#                  '"$http_user_agent" "$http_x_forwarded_for"';#access_log  logs/access.log  main;sendfile        on;#tcp_nopush     on;#keepalive_timeout  0;keepalive_timeout  65;#gzip  on;server {listen       8080;#charset koi8-r;#access_log  logs/host.access.log  main;location / {root   html;index  index.html index.htm;}#location ^~ /uwb/ {#    proxy_pass http://127.0.0.1:18080;#    proxy_send_timeout 1800;#    proxy_read_timeout 1800;#    proxy_connect_timeout 1800;#    client_max_body_size 2048m;#    proxy_http_version 1.1;#    proxy_set_header Upgrade $http_upgrade;#    proxy_set_header Connection "Upgrade";#    proxy_set_header Host $http_host;#    proxy_set_header X-Real-IP $remote_addr;#    proxy_set_header X-Forwarded-For $proxy_add_x_forwarded_for;#    proxy_set_header X-Forwarded=-Proto $scheme;
#
#            #proxy_http_version 1.1;
#            #proxy_set_header Upgrade $http_upgrade;
#            #proxy_set_header Connection "upgrade";
#        }#error_page  404              /404.html;# redirect server error pages to the static page /50x.html#error_page   500 502 503 504  /50x.html;location = /50x.html {root   html;}location /live {flv_live on; #打开HTTP播放FLV直播流功能chunked_transfer_encoding on; #支持'Transfer-Encoding: chunked'方式回复add_header 'Access-Control-Allow-Origin' '*'; #添加额外的HTTP头add_header 'Access-Control-Allow-Credentials' 'true'; #添加额外的HTTP头}location /hls {types {application/vnd.apple.mpegurl m3u8;video/mp2t ts;}root html/hls;add_header 'Cache-Control' 'no-cache';}location /dash {root html/dash;add_header 'Cache-Control' 'no-cache';}location /stat {#推流播放和录制统计数据的配置rtmp_stat all;rtmp_stat_stylesheet stat.xsl;}location /stat.xsl {root html/stat; #指定stat.xsl的位置}#如果需要JSON风格的stat, 不用指定stat.xsl#但是需要指定一个新的配置项rtmp_stat_format#location /stat {#    rtmp_stat all;#    rtmp_stat_format json;#}location /control {rtmp_control all; #rtmp控制模块的配置}# proxy the PHP scripts to Apache listening on 127.0.0.1:80##location ~ \.php$ {#    proxy_pass   http://127.0.0.1;#}# pass the PHP scripts to FastCGI server listening on 127.0.0.1:9000##location ~ \.php$ {#    root           html;#    fastcgi_pass   127.0.0.1:9000;#    fastcgi_index  index.php;#    fastcgi_param  SCRIPT_FILENAME  /scripts$fastcgi_script_name;#    include        fastcgi_params;#}# deny access to .htaccess files, if Apache's document root# concurs with nginx's one##location ~ /\.ht {#    deny  all;#}}
}rtmp_auto_push on;
rtmp_auto_push_reconnect 1s;
rtmp_socket_dir /tmp;rtmp {out_queue           4096;out_cork            8;max_streams         128;timeout             15s;drop_idle_publisher 15s;log_interval 5s; #log模块在access.log中记录日志的间隔时间,对调试非常有用log_size     1m; #log模块用来记录日志的缓冲区大小server {listen 1935;# server_name www.test.*;  #当模块中,只有一个server时,可以不配置server_name,nginx对于请求,当找不到匹配的server_name时,会默认发给第一个server进行处理。application live {live on;gop_cache on; #打开GOP缓存,减少首屏等待时间}# application hls {#     live on;#     hls on;#     hls_path D:/nginx-1.19.3/html/hls;# }# application dash {#     live on;#     dash on;#     dash_path D:/nginx-1.19.3/html/dash;# }}}
相机直接采集到的是 rtsp 的流。使用ffmpeg,可以将 RTSP 转为 RTMP 流。
RTMP 的格式 后面 live 和 stream2 都是要有的。 前面是对应地址+端口号,在前端 video.js 中访问的就是需要这个地址的。
putStreamCommand = "cmd.exe /c ffmpeg.exe -re -rtsp_transport tcp -buffer_size 4096000 -i \""+ rtspUrl + "\" -vcodec copy -acodec copy "+ "-f flv \"rtmp://127.0.0.1:1935/live/stream2" + "\"";
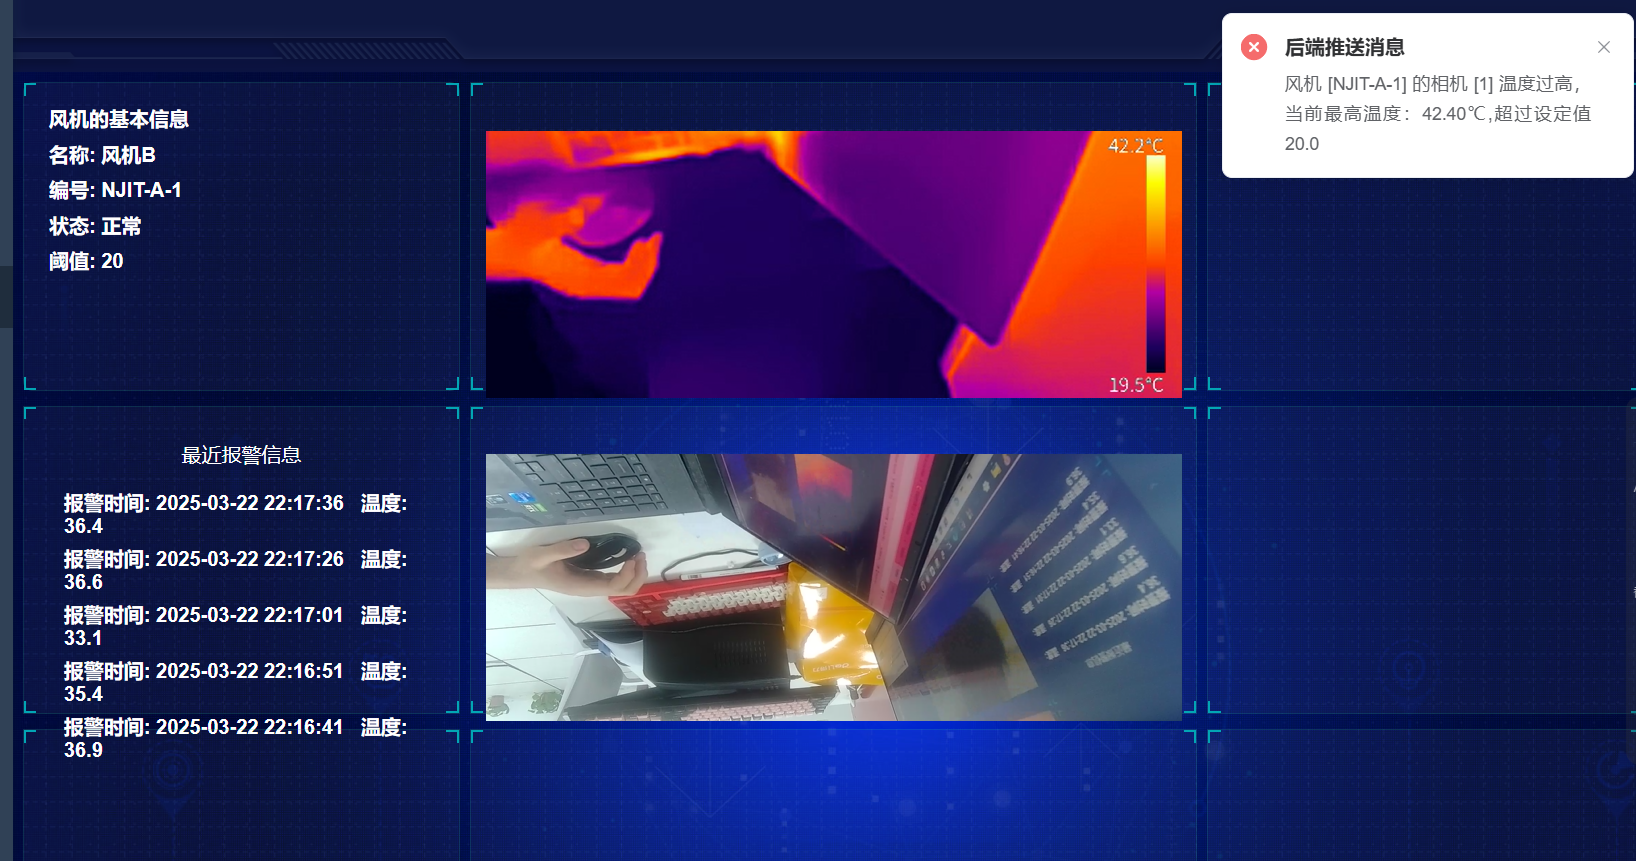
实践成功的案列,使用的是高德相机,调用对应的 SDK 生成 RTSP 流地址,通过 ffemg 将 RTSP 推流变成 RTMP 流,在通过 nginx 代理出去到浏览器里面播放。使用 flv.js,bilibili 开发的浏览器播放库,当温度超过了一定的时候,后端使用 websocket 实现消息的推送。